Why an eSIM for Nepal Treks, More Than Just Convenience
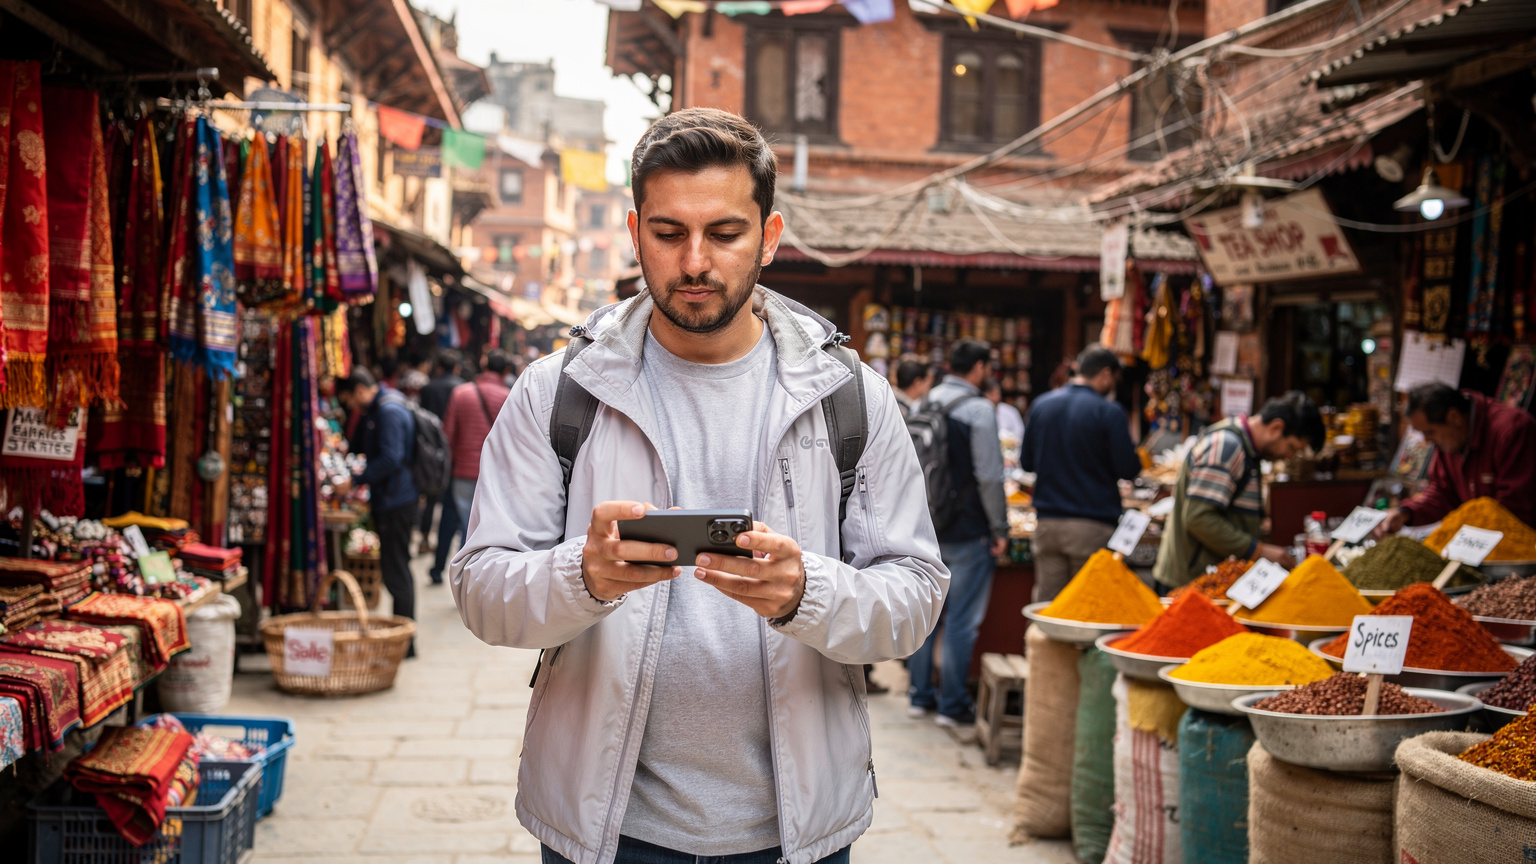
My first trek through the Langtang Valley, years ago, involved a frantic search for a SIM card in a tiny shop in Syabrubesi, juggling my passport and a handful of rupees while trying to explain, in broken Nepali, that I needed data, not just calls. It was a charming, if frustrating, memory. An eSIM for your Pixel 9, however, bypasses all that. It's not just about skipping the queue at the Ncell store in Kathmandu's New Road area, though that's a significant perk, especially if your flight lands late and you're eager to get to your guesthouse in Thamel.
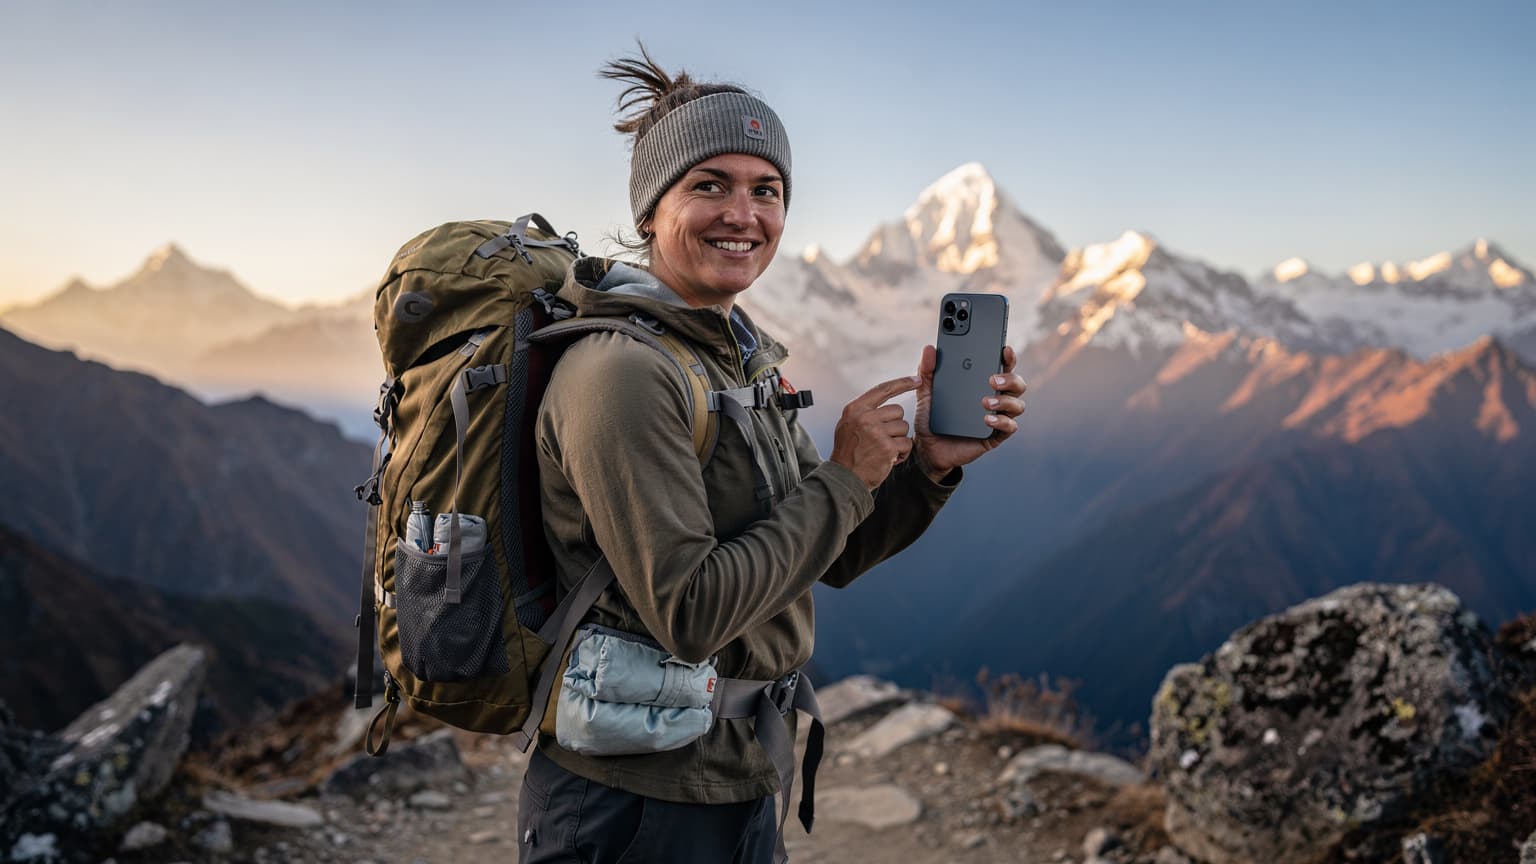
For high-altitude expeditions like the Annapurna Circuit, where every ounce in your pack counts and reliable communication can be critical, an eSIM becomes an indispensable tool. It means you're not opening up your phone in dusty lodges or on windy passes, risking damage to a delicate physical SIM tray. More practically, it allows you to keep your primary SIM active for calls and texts (perhaps from your AT&T eSIM abroad account) while dedicating your eSIM to local data. This dual-SIM functionality on your Pixel 9 ensures you can receive important messages without incurring exorbitant roaming charges, a lesson I learned the hard way after a particularly expensive emergency call from a remote village outside Manang.
The flexibility of switching between data plans, even mid-trek, is another understated benefit. Imagine you're halfway through, realizing your initial 10GB plan isn't quite cutting it with all the photo uploads and occasional video calls to family. With an eSIM, a few taps on your Pixel 9, and you can top up or even switch to a different provider without needing to find a physical store, which, let's be honest, aren't exactly abundant beyond Pokhara or Besisahar.
The Physical SIM Hassle, A Trekker's Tale
I recall a trip to Colombia, trying to get a Tigo SIM in a bustling Bogotá neighborhood, only to find the store closed for a national holiday. My flight had been delayed, and by the time I arrived, it was well past their 5 PM closing time. It meant a day without connectivity, relying solely on patchy hostel Wi-Fi. In Nepal, where mountain weather can be unpredictable and village shops might close for festivals or simply because the owner has gone to the fields, relying on a physical SIM purchase can leave you stranded. The Annapurna region, in particular, operates on its own rhythm, with smaller shops in places like Chame or Pisang having unpredictable hours, often closing around 6 PM, or even earlier during the quieter winter months (November to February).
Moreover, the process of registering a physical SIM in Nepal often requires your passport, a copy of your visa, and sometimes even a passport-sized photo. While these are usually manageable in Kathmandu, trying to sort out such bureaucracy after a long day of hiking, perhaps in a teahouse in Ghorepani, is the last thing you want. The beauty of an eSIM is that this entire registration process is handled digitally, often before you even land at Tribhuvan International Airport (TIA).
Dual-SIM Power, Keeping Your Home Number Active
Your Pixel 9, with its robust eSIM capabilities, allows you to leverage dual-SIM functionality. This means your home number, perhaps your trusted T-Mobile or Verizon line, can remain active for receiving critical calls or two-factor authentication SMS messages, while your eSIM handles all your data needs. This separation is crucial for avoiding unexpected roaming charges. I once accidentally left data roaming on my primary line during a transit in Dubai, and woke up to a bill that could have funded another short trip. Lessons learned the expensive way stick, and managing data through a separate eSIM is a simple, elegant solution.
Choosing the Right eSIM for Nepal, Coverage and Data Plans
Selecting an eSIM for Nepal isn't just about finding the cheapest data plan. It's about understanding which providers have the best reach in the remote Annapurna region, the actual bandwidth available, and how reliably you can connect. In Nepal, the two main players are Ncell and Nepal Telecom (NTC). Both have made significant strides in expanding their 4G (and increasingly, 5G in urban areas) networks, but their coverage can vary dramatically once you venture beyond Pokhara into the higher reaches of the Annapurna Circuit.
For trekkers, Ncell often edges out NTC in terms of consistent data speeds and coverage along the more popular sections of the Annapurna Base Camp (ABC) and Annapurna Circuit trails, particularly in areas like Ulleri, Ghorepani, and even up to Poon Hill. However, NTC has stronger penetration in some of the more remote, less-trafficked valleys. It's a bit of a trade-off, and sometimes, carrying an eSIM that can switch between both, or having a backup plan, is the wisest move. Remember, a good eSIM provider will let you choose your local network.
| Provider | Coverage in Annapurna Region | Typical Data Speed (4G) | Pros for Trekkers |
|---|---|---|---|
| Ncell | Good on main ABC/Circuit trails (lower to mid-altitudes), decent near Manang | 20-50 Mbps | Reliable in popular areas, good for streaming/video calls at lower elevations |
| Nepal Telecom (NTC) | Wider reach in some very remote valleys, intermittent on popular trails | 10-30 Mbps | Better for truly off-the-beaten-path expeditions, often the only option in deep valleys |
| eSIM (via global provider) | Connects to best available local network (Ncell/NTC) | Varies, generally good | Flexibility, ease of activation, often competitive rates, no physical SIM needed |
When looking at data plans, consider your actual usage. Are you just checking WhatsApp and mapping, or do you plan to upload high-resolution photos and make occasional video calls? A 5GB plan might sound generous for a 10-day trek, but if you're constantly refreshing social media or streaming music during downtime in a teahouse, it can disappear quickly. I learned this on a recent trip to Morocco; what I thought was enough data vanished within days because I forgot to download my podcasts offline before leaving Casablanca. For detailed data planning, you might find Morocco eSIM: Your Connectivity Budget, Border Hacks, and Data Math for 2026 helpful, even if the locale is different, the principles remain the same.
Local eSIM Versus Global eSIM Providers
You essentially have two choices: acquire a local eSIM directly from Ncell or NTC, or opt for a global eSIM provider that offers plans for Nepal. Local providers might offer slightly cheaper rates for raw data, but the setup process can be more involved, potentially requiring an in-person visit to their flagship stores, like the Ncell Centre in Sundhara, Kathmandu, which is typically open from 9 AM to 6 PM daily, except for major holidays. They do offer eSIMs, but sometimes the process can be slow, especially if there's a queue.
Global eSIM providers, on the other hand, streamline the entire experience. You can purchase and activate your plan from home, often before you even board your flight. These providers typically aggregate coverage from local networks, meaning your eSIM will automatically connect to the strongest available signal, be it Ncell or NTC. This is particularly advantageous in patchy coverage areas, as your Pixel 9 will simply hop to whichever network is performing best at that moment.
Data Plan Duration and Flexibility
Most eSIM plans for Nepal come in various durations, from 7-day to 30-day options, with data allowances ranging from 1GB to 20GB or more. For a typical Annapurna Base Camp trek (around 7-10 days) or the full Annapurna Circuit (15-20 days), you'll want a plan that covers your entire stay. Don't underestimate the need for data; beyond navigation, it's invaluable for checking weather forecasts, staying in touch with your trekking agency, and, of course, sharing those incredible mountain vistas with friends and family back home. Some global providers also offer regional plans that include Nepal, which can be useful if you're combining your trek with visits to neighboring countries, though for a dedicated Nepal expedition, a country-specific plan usually offers better value.
Pre-Trek Setup, Activating Your Pixel 9 eSIM in Kathmandu
The key to a stress-free trek is ensuring your Pixel 9's eSIM is active and working before you even leave Kathmandu. Ideally, you should purchase your eSIM plan a few days before your departure. This gives you ample time to troubleshoot any issues while still in an area with reliable Wi-Fi. My preferred spot for pre-trip tech setup in Kathmandu is often a quiet cafe in the Lazimpat area, away from the Thamel bustle, usually with strong Wi-Fi and good coffee. (Try a place like Himalayan Java in Lazimpat, generally open from 7 AM to 9 PM, for a relaxed atmosphere and decent connectivity.)
Purchasing Your eSIM Plan
First, you'll need to choose a reputable global eSIM provider. There are several options available, and comparing them is crucial. For instance, you might compare Maya eSIM vs. esimAdventures: Unpacking Your International Data Options for 2026 to find the best fit for your budget and data needs. Once you've selected a provider and a plan for Nepal, the purchase usually happens through their website or app. You'll receive a QR code or manual activation details via email.
Activating Your eSIM on Pixel 9
Here's a step-by-step guide to activating your eSIM on your Google Pixel 9:
- Ensure Wi-Fi Connectivity: Before you start, connect your Pixel 9 to a stable Wi-Fi network. This is critical for downloading the eSIM profile. If you're in Kathmandu, most hotels in Thamel or restaurants in Durbar Marg offer free Wi-Fi.
- Open Settings: Go to your phone's 'Settings' app.
- Navigate to Network & Internet: Tap on 'Network & Internet', then 'SIMs'.
- Add eSIM: Look for an option like 'Add eSIM' or 'Download a SIM instead'.
- Scan QR Code or Enter Manually: If you received a QR code, tap 'Use a QR code' and scan it with your Pixel 9's camera. Make sure the entire QR code is visible within the frame. If you have manual details, select 'Enter it manually' and input the SM-DP+ Address and Activation Code provided by your eSIM vendor.
- Confirm Activation: Follow the on-screen prompts to confirm the activation. Your Pixel 9 will download the eSIM profile. This process usually takes a minute or two.
- Label Your eSIM: Once activated, you'll be prompted to name your new eSIM (e.g., 'Nepal Data' or 'Annapurna Trek'). This helps immensely in managing your connections later.
- Set Data Preference: Go back to 'Network & Internet' > 'SIMs'. Here, select your newly activated eSIM for 'Mobile data'. Crucially, ensure 'Data roaming' is turned OFF for your primary home SIM to avoid unexpected charges.
- Test Connectivity: Once activated and set as your data SIM, try browsing the internet, sending a message, or making a quick call (if your plan includes voice). Do this while still on Wi-Fi, then turn off Wi-Fi to confirm it works on cellular data.
Common Pre-Activation Pitfalls
One frequent issue I've seen travelers encounter is trying to activate an eSIM without a stable internet connection. An eSIM profile is essentially a digital download, and without Wi-Fi, your Pixel 9 won't be able to fetch the necessary data from the network. Another pitfall is not verifying the plan's validity period. Some plans activate immediately upon purchase, others upon first connection to a network. Always check the terms, particularly if you're buying it weeks in advance. My own mishap with an eSIM for Algeria taught me that lesson, activating too early meant I lost a few days of my plan before I even landed in Algiers. Read the fine print, or you'll be kicking yourself.
On the Trail, Managing Your Pixel 9's Data and Battery Life
Once you're on the Annapurna trail, from the terraced fields of Nayapul to the alpine meadows above Deurali, managing your Pixel 9's data and battery becomes paramount. Connectivity is a luxury, not a given, and power outlets are scarce. The last thing you want is to run out of juice or hit your data cap just when you need to check the weather or send an emergency message.
Optimizing Data Usage
You'll quickly notice that data signals can be intermittent, especially as you climb higher or pass through deep valleys. In places like Machhapuchhre Base Camp (MBC), you might get a weak 3G signal, while in Chhomrong, you could enjoy a decent 4G connection. To make your data last:
- Download Offline Maps: Use Google Maps or Maps.me to download the Annapurna region offline before you start. This is a lifesaver when there's no signal.
- Limit Background App Refresh: Go into your Pixel 9's settings and restrict apps from refreshing in the background. Social media apps are notorious data hogs.
- Turn Off Auto-Updates: Ensure your apps aren't set to auto-update over mobile data.
- Use Wi-Fi When Available: Many teahouses along the Annapurna trail, even in remote villages like High Camp, offer Wi-Fi, often for a small fee (around 200-500 NPR for unlimited use). Use these opportunities to download anything large.
Extending Battery Life
Power points are gold dust on the Annapurna Circuit. While some teahouses offer charging, it's often for a fee (100-300 NPR per hour) and can be slow, especially in crowded dining halls. I've waited hours for a turn at a single outlet in a lodge in Dobhan. A dead phone in the mountains isn't just an inconvenience, it's a safety concern.
- Enable Battery Saver Mode: Your Pixel 9 has excellent battery saver features. Use them religiously.
- Minimize Screen Brightness: The screen is the biggest battery drain. Keep it as low as comfortably visible.
- Turn Off Unnecessary Radios: When you don't need data, turn off mobile data, Wi-Fi, and Bluetooth. Consider putting your phone in Airplane Mode during long stretches of no signal.
- Carry a Power Bank: A high-capacity power bank (20,000 mAh or more) is non-negotiable. I usually carry two, especially on longer treks where resupply points are few and far between.
- Charge Smartly: When you do find an outlet, prioritize charging your power bank first, then your phone.
Managing Dual SIMs on Your Pixel 9
Your Pixel 9's dual-SIM capability is a significant advantage. I usually configure my phone like this: my primary SIM (the physical one or another eSIM, perhaps from my eSIM for iPhones: Seamless Global Connectivity for iPhone Users in 2026 setup back home) is set to receive calls and texts, but with data roaming strictly OFF. My Nepal eSIM is then dedicated solely to mobile data. This way, any unexpected data usage from my home carrier is completely avoided, while I still get critical notifications or messages.
You can easily switch your preferred SIM for mobile data under 'Settings' > 'Network & Internet' > 'SIMs' on your Pixel 9. It's a simple toggle, but it's one you should be mindful of, especially if you find one network performing better than another in a specific area.
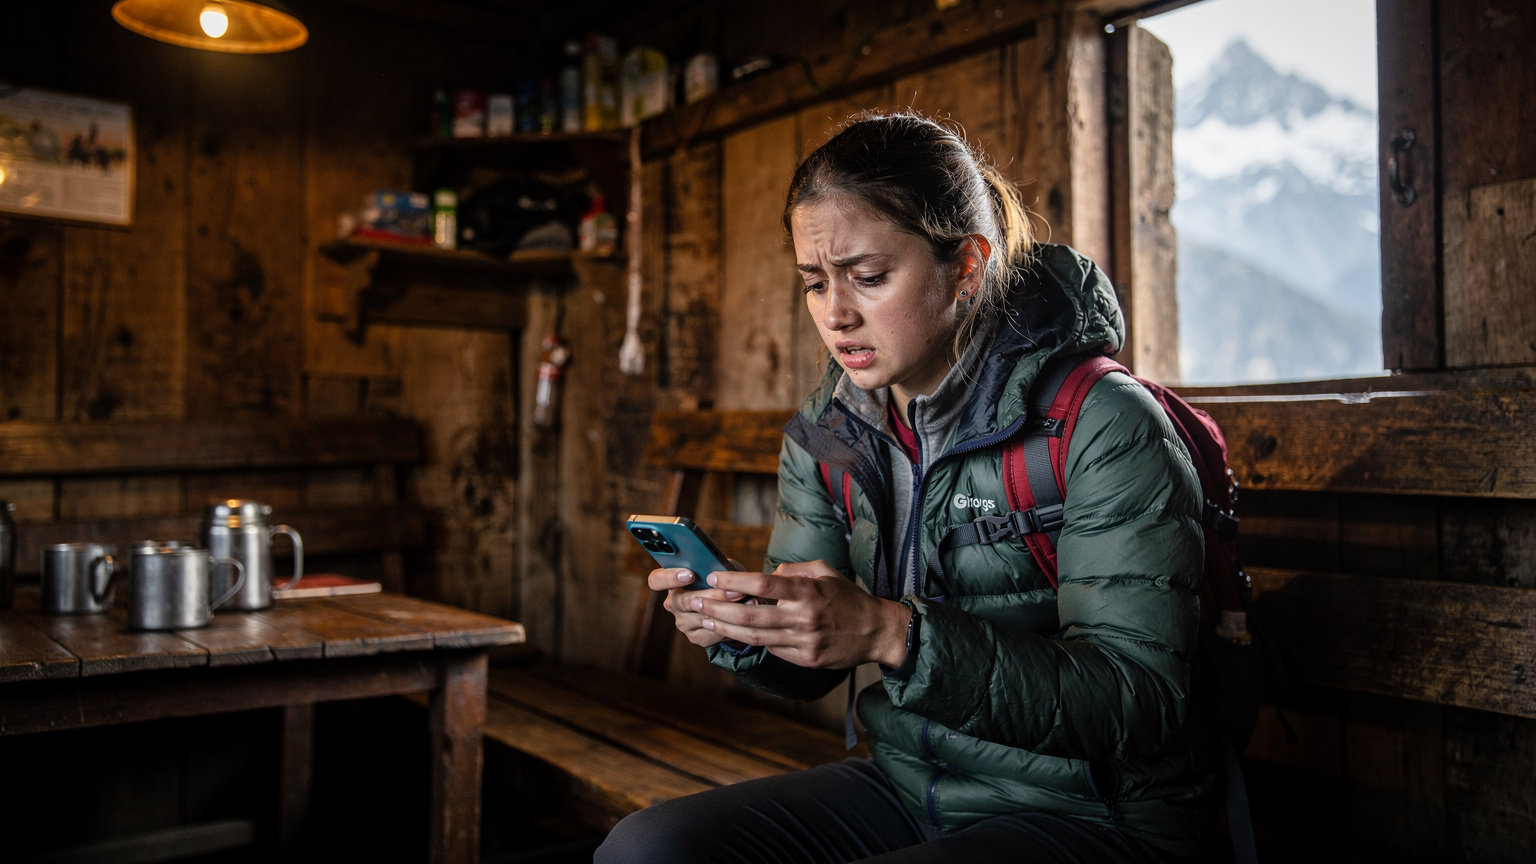
Troubleshooting Common eSIM Issues in Remote Nepal
Even with meticulous planning, things can go sideways on the trail. A weak signal, an expiring data plan, or simply a misconfigured setting can leave you disconnected. I've had my share of connectivity woes, from trying to get a signal in the depths of a canyon in Patagonia to a non-responsive data plan in rural Vietnam. The mountains of Nepal are no different.
No Signal or Weak Signal
This is the most common issue. The Annapurna region is beautiful but rugged, and cellular infrastructure, while improving, isn't ubiquitous. In villages like Tal or Lower Pisang, you might get a decent Ncell signal, but as you climb towards Manang or cross Thorong La Pass, don't expect much. Near the pass itself, especially above Thorong Phedi, coverage is virtually non-existent.
- Restart Your Pixel 9: The classic fix. Often, a simple reboot can help your phone reconnect to the strongest available tower.
- Toggle Airplane Mode: Turn on Airplane Mode for a minute, then turn it off. This forces your phone to re-scan for networks.
- Manual Network Selection: Go to 'Settings' > 'Network & Internet' > 'SIMs' > select your Nepal eSIM > 'Network & internet' > 'Automatically select network'. Turn this off and manually select Ncell or Nepal Telecom. Sometimes your phone will cling to a weak signal from a preferred network, even if another local one is stronger.
- Move to Higher Ground: Often, walking a few meters to a ridge or an open area can make all the difference. Signal strength can vary wildly even within the same teahouse.
Data Not Working Despite Signal
Sometimes you'll see a signal, but no data flows. This usually points to an APN setting issue or a depleted data allowance.
- Check Data Allowance: Log into your eSIM provider's app or website to check your remaining data. If it's zero, you'll need to top up or buy a new plan.
- Verify APN Settings: Your eSIM provider should automatically configure the APN (Access Point Name), but occasionally, it needs manual adjustment. You can find these settings under 'Settings' > 'Network & Internet' > 'SIMs' > select your Nepal eSIM > 'Access Point Names'. Consult your eSIM provider's support page for the correct APN for Nepal (usually 'web' for Ncell or 'ntwap' for Nepal Telecom).
- Ensure Data Roaming is ON for eSIM: While you turn it OFF for your home SIM, ensure data roaming is ON for your Nepal eSIM, as it's technically 'roaming' on local networks through your global provider.
Contacting Support When You're Stuck
If all else fails, you'll need to contact your eSIM provider's customer support. This is where pre-trek planning comes in handy. Before you leave Kathmandu, make sure you have:
- Their Support Contact Info: Keep their email address, support chat link, and any international toll-free numbers saved offline.
- Your Account Details: Have your eSIM account number, plan details, and transaction IDs readily accessible.
- A Backup Communication Method: Consider carrying a satellite messenger (like a Garmin inReach Mini) for true emergencies, or a local contact's number who can help you find Wi-Fi.
Remember, connectivity in the high Himalayas can be tenuous. Patience and resourcefulness are your best tools.
Post-Trek Connectivity and What to Do Next
Once you descend from the majestic peaks, perhaps celebrating your accomplishment in a bustling restaurant in Pokhara's Lakeside district, your connectivity needs will change. You'll likely have stronger, more consistent access to Wi-Fi, and your data demands might shift from essential communication to sharing high-resolution photos and videos of your incredible journey. This is also the time to consider what to do with your Nepal eSIM plan.
Wrapping Up Your Nepal eSIM Plan
If your plan is set to expire soon after your trek, you might simply let it run its course. If you're staying longer in Nepal, perhaps exploring Bardia National Park or spending more time in the Kathmandu Valley, you might consider extending your current plan or purchasing a new one. Remember, many global eSIM providers offer flexible top-up options directly through their apps.
- Check Expiry Date: Always be aware of your plan's expiry date. Most providers will send you reminders, but it's good practice to keep track.
- Consider a Regional Plan: If your travels extend beyond Nepal into other South Asian countries, you might look into a regional eSIM plan. This can simplify connectivity across multiple borders, similar to how a Nomad vs. esimAdventures: Which eSIM Best Serves Digital Nomads in 2026? discussion might lead you to a multi-country solution.
- Disable/Remove eSIM: Once you're certain you no longer need the Nepal eSIM, you can disable it or remove it from your Pixel 9's settings. This frees up the slot for future travel. Go to 'Settings' > 'Network & Internet' > 'SIMs', select the eSIM, and choose 'Turn off SIM' or 'Delete SIM'.
Reactivating Your Home SIM and Data
As you prepare to return home, don't forget to reverse the settings you adjusted pre-trek. Reactivate your home SIM for mobile data, and ensure data roaming is back on if that's your preference. This prevents any accidental reliance on your Nepal eSIM after you've left the country. I've heard stories of travelers who forgot to switch back, only to find themselves paying international rates for what they thought was domestic data. A quick check of your Pixel 9's network settings before you leave Nepal will save you that headache.
Local Networks and Their Reach, Along the Annapurna Circuit
Understanding the actual network coverage along the Annapurna Circuit is crucial for managing expectations and planning your digital life. My experience over multiple treks has shown that connectivity is a patchwork, improving year by year, but still far from urban reliability. The main players, Ncell and Nepal Telecom, both have their strengths and weaknesses in this mountainous terrain.
| Village/Location | Ncell Coverage (Estimated) | Nepal Telecom (NTC) Coverage (Estimated) | Notes for Trekkers |
|---|---|---|---|
| Nayapul/Birethanti | Strong 4G | Strong 4G | Excellent coverage, last reliable urban-like signal. |
| Ulleri/Ghorepani | Good 4G/3G | Moderate 3G | Generally good, expect slower speeds at peak times, especially near Poon Hill. |
| Chhomrong | Decent 4G/3G | Moderate 3G | Reliable enough for messaging, occasional calls. Lodges often have Wi-Fi. |
| Deurali/MBC | Patchy 3G/2G | Very weak 2G/No signal | Signal is highly intermittent, prioritize offline tools. |
| Annapurna Base Camp (ABC) | Minimal 2G/No signal | No signal | Expect to be off-grid. A few lodges might have satellite phones for emergencies. |
| Manang | Good 4G/3G | Good 4G/3G | Surprising pockets of strong signal, good for catching up on messages. |
| Thorong Phedi/High Camp | Weak 2G/No signal | No signal | Almost no connectivity, prepare for digital detox. |
As you can see, the higher you go, the less reliable the signal becomes. This isn't unique to Nepal, of course, but the sheer scale of the mountains here amplifies the challenge. It's why I always emphasize offline preparation and conservative data use. The best signal I ever got near Manang was ironically outside a small shop near the main square, around 10 AM, when the satellite link was apparently clearest. It was just enough to send a few WhatsApp messages.
What to Expect from Teahouse Wi-Fi
Many teahouses along the route, from Tirkhedhunga to Thorong Phedi, advertise Wi-Fi. However, this is often satellite-based, shared among many users, and can be excruciatingly slow and expensive. Think of it as a last resort for urgent messages, not for streaming your favorite shows. The Wi-Fi at the large lodge in Manang, for example, is generally better than in smaller villages, but still manages to buffer even basic webpages during peak evening hours (between 6 PM and 9 PM) when everyone is trying to connect.
The Future of Connectivity in the Himalayas
Nepal is actively working to improve its rural and mountain connectivity. There are ongoing projects to install more cellular towers, and satellite internet solutions are becoming more prevalent and affordable for lodges. While you might not find 5G at Annapurna Base Camp in 2026, the trend is towards greater, more reliable coverage. This means your Pixel 9, with its adaptive connectivity features, is well-positioned to take advantage of these improvements.
Beyond Data, Using Your Pixel 9 for Navigation and Emergencies
Your Pixel 9 is more than just a data device, especially in the challenging environment of the Annapurna region. It's a powerful tool for navigation, safety, and even entertainment, provided you've prepared it correctly. After all, a phone with a dead battery or no signal is just a paperweight. I've often relied on my phone for critical navigation in places where trails weren't clearly marked, from the remote reaches of the Caucasus to obscure paths in the Andes, so I understand the importance of preparing for all eventualities.
Offline Navigation Tools
Even if you have an active eSIM, relying solely on live data for navigation in the Himalayas is risky. Signal drops are common, and you don't want to get lost because your map won't load. The solution is comprehensive offline maps.
- Google Maps: Download the entire Annapurna region offline. Go to Google Maps, search for 'Annapurna Circuit', and select the option to 'Download offline map'. This is usually sufficient for major trails.
- Maps.me or Gaia GPS: For more detailed topographic maps and trail data, I highly recommend Maps.me or Gaia GPS. These apps allow you to download highly detailed maps, including contour lines and smaller footpaths not always visible on Google Maps. Gaia GPS, in particular, offers excellent layers for elevation and terrain.
- Compass and GPS: Your Pixel 9 has a built-in compass and GPS receiver. Even without cellular signal, your phone's GPS can pinpoint your location. Make sure you know how to access and use these features.
Emergency Communication
While an eSIM boosts your chances of communication, it's not a foolproof emergency device in the highest reaches. For true off-grid safety, a satellite messenger is a dedicated tool. However, your Pixel 9 can still play a vital role:
- Emergency Contacts: Ensure your emergency contacts are easily accessible, even from your lock screen.
- Local Emergency Numbers: Save crucial Nepali emergency numbers (e.g., Tourist Police: 1144, General Police: 100, Ambulance: 102) in your phone.
- Offline Messaging Apps: While they need a signal to send, prepare messages in apps like WhatsApp or Signal that you can quickly dispatch when you hit a patch of connectivity.
- Offline Translation: Download an offline Nepali translation pack for Google Translate. This can be invaluable for communicating with locals in remote areas where English might not be spoken.
Packing Smart, Essential Tech for Your Nepal Expedition
As an off-grid connectivity specialist, I've learned that the right gear can make or break an expedition. For your Annapurna trek, smart packing means not just clothes and food, but also the tech that keeps you safe and connected. Your Pixel 9 is at the heart of this, but it needs companions. When I was preparing for a multi-week trek in Ecuador, I meticulously planned every charging cable and power source, knowing that a dead device could mean missing crucial data or navigation. See how I approached that in Ecuador Residency: How eSIM Streamlines Your Application & Connectivity 2026.
| Item | Why it's Essential | Notes for Annapurna Treks |
|---|---|---|
| High-Capacity Power Bank | Keeps Pixel 9 charged for multiple days in remote areas. | Minimum 20,000 mAh, consider two for longer treks. Charges will be expensive/slow in lodges. |
| Solar Charger (optional) | Sustainable charging option, especially on sunny days. | Small, foldable panels are best. Works slowly but can top up power banks. |
| Durable Charging Cables | Reliable connection for charging your Pixel 9 and power bank. | Pack at least two USB-C cables. Dust and moisture are common. |
| Waterproof Phone Pouch | Protects your Pixel 9 from rain, snow, and dust. | Crucial for variable mountain weather. A simple Ziploc bag can work in a pinch. |
| Headlamp with Red Light | Navigation in the dark, preserving night vision in lodges. | Essential for early morning starts or late arrivals. Red light avoids disturbing others. |
| Satellite Messenger (optional) | Guaranteed emergency communication beyond cellular reach. | For serious off-grid adventurers. Devices like Garmin inReach or Zoleo offer SOS and limited messaging. |
Connectivity for Companions
If you're trekking with others, encourage them to prepare their own connectivity solutions. While you might be the designated 'tech guru' of the group, relying on one person's phone for all communication and navigation is a recipe for disaster. If they have iPhones, point them to eSIM for iPhones: Seamless Global Connectivity for iPhone Users in 2026. Having multiple devices with active data plans, even if they're from different providers, creates redundancy and significantly enhances the group's safety and peace of mind.
Frequently Asked Questions
Will my Pixel 9 eSIM work at Annapurna Base Camp?
Connectivity at Annapurna Base Camp (ABC) is extremely limited, usually nonexistent for standard cellular data. While some lodges might offer very slow satellite Wi-Fi for a fee, do not rely on your Pixel 9 eSIM for consistent service at ABC itself. Plan for offline use in this high-altitude area.
Which local Nepali network does an eSIM typically connect to?
When you use a global eSIM provider for Nepal, your Pixel 9 will typically connect to either Ncell or Nepal Telecom (NTC). These are the two primary cellular networks in Nepal, and your eSIM will automatically choose the one with the strongest available signal in your location.
Can I make calls and send SMS with a Nepal eSIM?
Most data-only eSIM plans do not include traditional voice calls or SMS. However, you can use VoIP apps like WhatsApp, Signal, or Messenger over your eSIM data connection to make calls and send messages. If your primary SIM is still active, you can receive calls and texts on your home number, just remember to disable data roaming for it.
What if my Pixel 9 eSIM doesn't activate in Nepal?
First, ensure you have a stable Wi-Fi connection. If activation fails, try restarting your Pixel 9 and scanning the QR code again. Double-check manual entry details if applicable. If issues persist, contact your eSIM provider's customer support immediately, using Wi-Fi or a backup communication method.
How much data do I need for a 15-day Annapurna trek?
For a 15-day Annapurna trek, a minimum of 10-15GB of data is recommended if you plan on moderate usage (maps, messaging, occasional photo uploads). If you intend to stream music, make video calls, or heavily use social media, consider a 20GB+ plan or be prepared to top up. Conserve data by downloading offline maps and media beforehand.
Is Wi-Fi available in teahouses along the Annapurna Circuit?
Yes, many teahouses along the Annapurna Circuit offer Wi-Fi, often for a fee (typically 200-500 NPR for unlimited use). However, this Wi-Fi is usually satellite-based, slow, and unreliable, especially during peak hours. It's best used for quick messages or essential checks, not for heavy browsing or streaming.