Navigating the W Trek: Connectivity Challenges
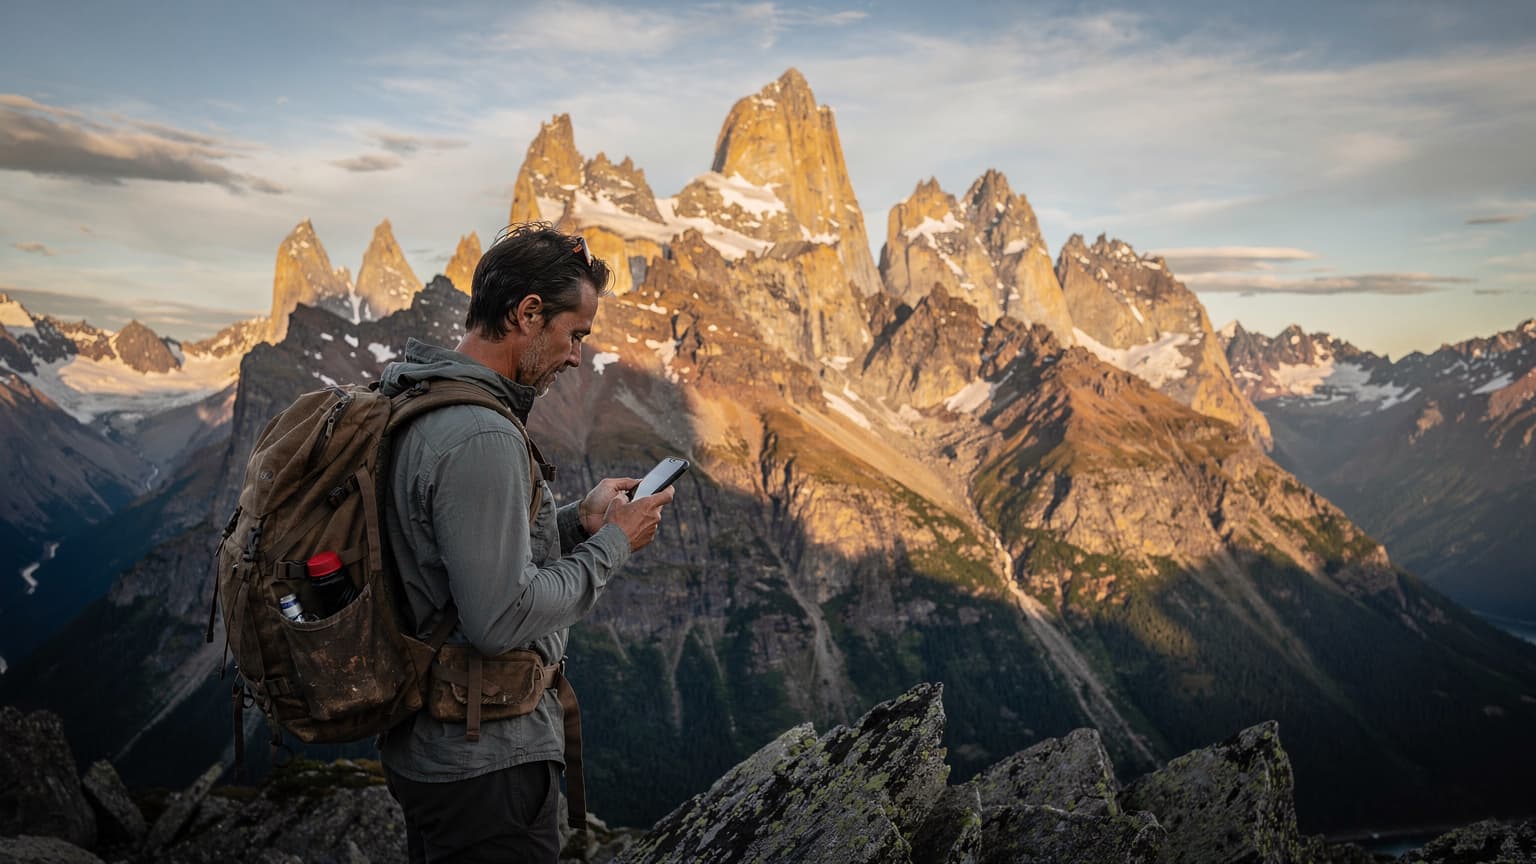
The W Trek, carving its path through the heart of Torres del Paine, is an experience that lingers long after you've dusted off your boots. I remember my first time, years ago, heading from Refugio Grey towards Paine Grande, the wind whipping off the glaciers, and thinking how truly isolated I felt. This isolation, while part of the allure, also presents real challenges, especially when it comes to staying connected.
Torres del Paine is a vast national park, and its infrastructure, while improving, isn't designed for seamless digital life. You'll find pockets of Wi-Fi in some of the larger refugios, like Paine Grande or Central, but these are often slow, expensive, and unreliable, especially during peak season (November to March, when the park sees up to 1000 visitors a day). Forget about consistent signal along the trail itself, particularly in the deeper valleys or near the base of the Mirador Británico. It's a stark contrast to places like Tokyo, where the JR East line offers impeccable service even underground.
The Reality of Signal in Torres del Paine
Local Chilean carriers, primarily Entel, Movistar, and Claro, do offer some coverage within the park. However, their reach is limited, generally strongest around the main entrance at Laguna Amarga, the administration office, and sporadically near the larger refugios. As you venture deeper into the W, say, towards Campamento Los Perros on the O Trek extension, signal becomes a distant memory. This isn't a minor inconvenience, it's a safety concern.
I once had a nasty fall just past Paso John Gardner, twisting an ankle. My phone, with its local SIM, showed 'No Service.' I was fortunate to be with a group, but it hammered home the importance of having a backup plan. The park rangers, typically found at key checkpoints like Campamento Italiano or the Refugio Dickson area, rely on satellite phones for emergencies, not commercial mobile networks. Don't expect to call for a helicopter from your regular cell service up there.
What to Expect from Refugio Wi-Fi
The Wi-Fi in refugios, when available, is often a satellite-based service, meaning high latency and limited bandwidth. Expect to pay anywhere from 5,000 to 10,000 CLP (around 5 to 10 USD) for a small data package, valid for an hour or a day. It's enough for a quick message to family, perhaps checking a crucial weather forecast on the CONAF site, but certainly not for streaming your favorite show or uploading all your photos from the French Valley. I've seen trekkers frustrated, staring at perpetually buffering screens in the common areas of Refugio Chileno, trying to get a simple message through. Manage your expectations, and better yet, plan to be mostly offline.

Why eSIM is the Savvy Trekker's Choice for Patagonia
So, if traditional SIMs and refugio Wi-Fi are so hit-and-miss, what's the answer? For me, after years of fumbling with tiny plastic cards in remote villages, it's become the eSIM. It revolutionises how we connect, especially in places like Torres del Paine, where convenience and reliability can literally be lifesavers. No more hunting for a local carrier store in Puerto Natales, trying to decipher a data plan in Spanish while juggling your pack and a bus ticket.
The Simplicity of eSIM Activation
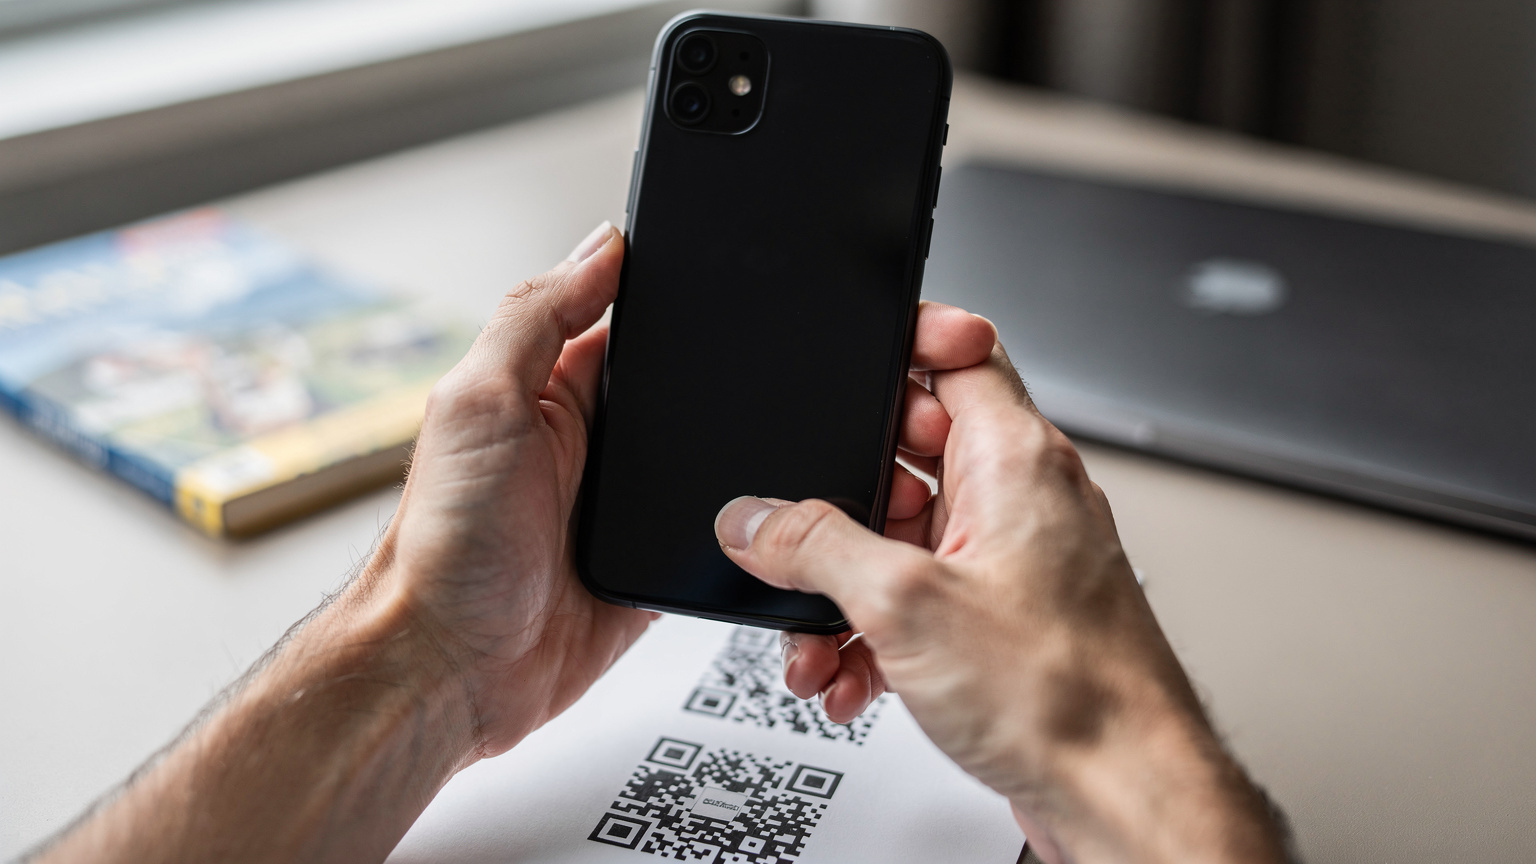
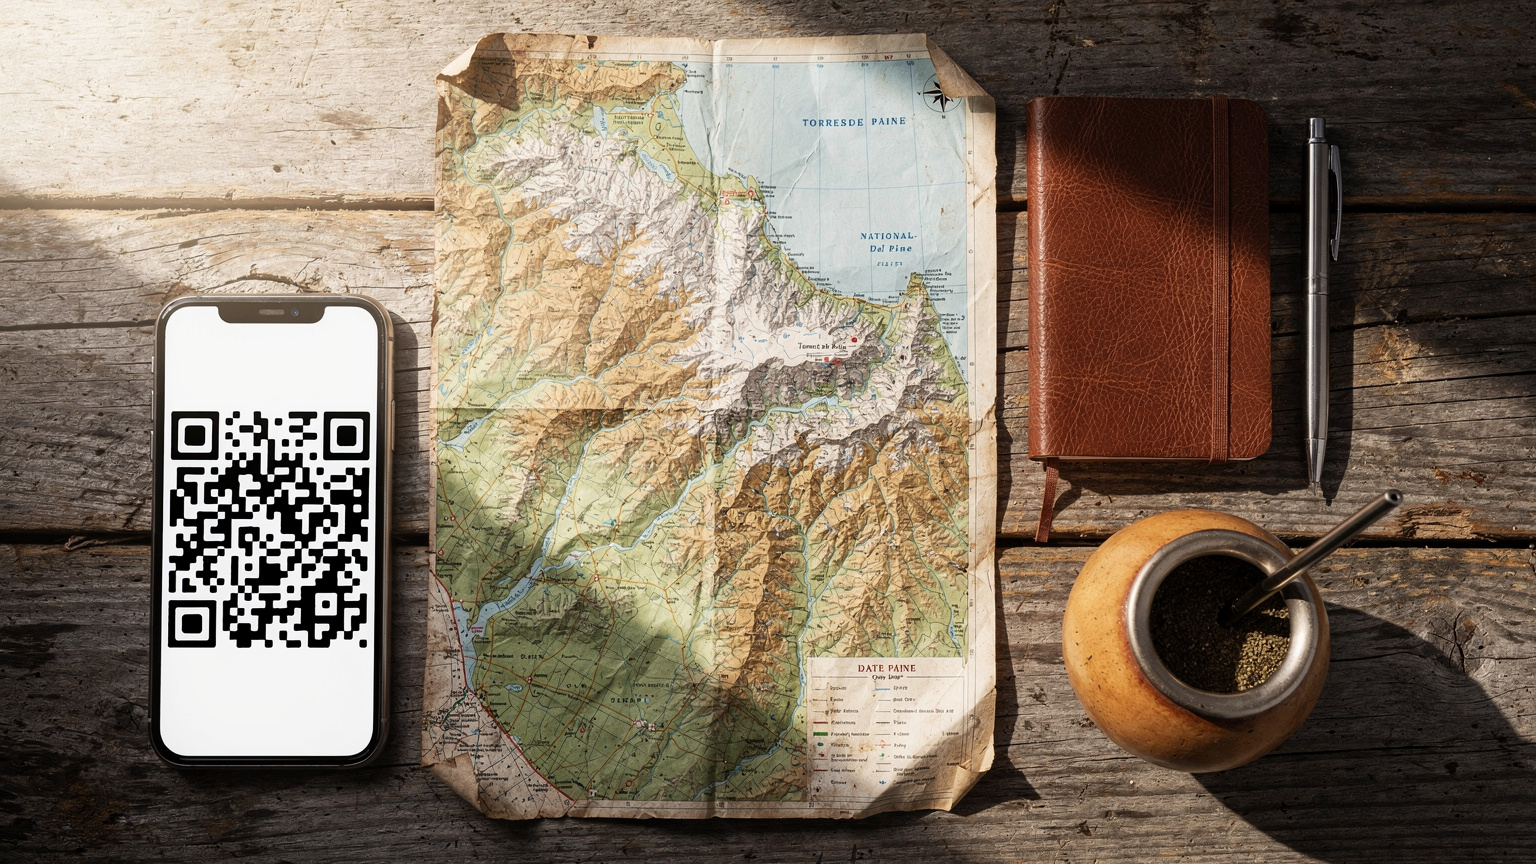
The beauty of an eSIM lies in its digital nature. You purchase a plan online, receive a QR code, scan it, and you're connected. It's that simple. I've activated eSIMs while waiting for my flight to Punta Arenas, even from the comfort of my home in Montana, days before leaving. This means you arrive in Patagonia already connected, ready to call your transfer from the airport or look up directions to your hostel in the Cerro Alegre neighborhood of Valparaíso (if you're doing a multi-country trip, a regional eSIM can be a lifesaver, much like those multi-country eSIMs for Europe). No language barriers, no physical exchange, no wondering if the shop assistant in Puerto Natales has given you the right plan.
Seamless Switching and Multi-Country Coverage
One of the most powerful features of eSIMs for a Patagonian adventure is the ability to easily switch between providers or even maintain multiple active plans. If you're crossing into Argentina to explore El Chaltén or Ushuaia, you can have a Chilean plan and an Argentinian plan loaded simultaneously, toggling between them as you cross the border. This eliminates the need to buy new physical SIMs, deal with varying registration requirements, or risk losing your primary SIM card (which, trust me, is a real pain to replace when you're thousands of miles from home). For example, I used a regional eSIM for South America, which covered both Chile and Argentina, ensuring I was connected whether I was in Puerto Natales or trekking near Fitz Roy.
Preparing for Your Trek: Pre-Departure eSIM Setup
Preparation is key for any Patagonian adventure, and your connectivity is no exception. Setting up your eSIM before you even leave home is the smartest move you can make. It removes a layer of stress upon arrival and ensures you're ready to hit the ground running, or rather, trekking.
Choosing Your Patagonia eSIM Provider
There are several global eSIM providers that offer plans covering Chile, often as part of a wider Latin America package. When choosing, look for providers that partner with major Chilean networks like Entel and Movistar, as these generally offer the broadest, albeit still limited, coverage in remote areas. Check reviews specifically mentioning coverage in Torres del Paine, if possible. Consider data allocation, validity period, and whether it includes a local number (though for pure data, this is often unnecessary). You can often find a suitable plan on the Chile eSIM page for a direct purchase.
Step-by-Step eSIM Activation Guide
Activating your eSIM is straightforward, but it's best to do it in a place with stable Wi-Fi before you arrive in Patagonia. I once tried to activate one from the bus station in Punta Arenas, relying on their spotty Wi-Fi, and it was a headache I could have avoided.
- Purchase Your eSIM Plan: Go online to your chosen provider and select a data plan that suits your trip duration and data needs. For a 5-day W Trek, a 5-10GB plan should be sufficient if you're only using it for navigation and essential communication.
- Receive Your QR Code/Activation Details: After purchase, you'll typically receive an email with a QR code or manual activation details. Keep this email accessible, perhaps by printing it or saving it to your phone's photo gallery.
- Ensure Stable Wi-Fi: Connect to a strong Wi-Fi network (your home, airport lounge, hotel in Santiago) before proceeding.
- Add eSIM to Your Device: Navigate to your phone's settings. For iPhones, go to 'Settings > Cellular > Add Cellular Plan'. For Android, it's usually 'Settings > Network & internet > SIMs > Add eSIM'.
- Scan QR Code: Use your phone's camera to scan the QR code provided by your eSIM provider. Follow any on-screen prompts to complete the installation.
- Label Your eSIM: Give your new eSIM a clear label, like 'Chile Trek' or 'Patagonia Data,' to easily differentiate it from your primary SIM.
- Set Data Roaming Preferences: Before landing in Chile, ensure your eSIM is set as your primary line for cellular data and that data roaming is enabled for it. Keep your home SIM active for calls/texts if you wish, but disable its data roaming to avoid unexpected charges.
On the Trail: How eSIM Enhances Safety and Navigation
Once you're deep within Torres del Paine, with the granite spires of the Cuernos del Paine towering above you, the true value of your eSIM becomes apparent. It shifts from a convenience to a critical tool for safety and efficient navigation, especially when the weather turns, which it often does, without much warning, even in the middle of summer.
Offline Maps and GPS Reliability
While cellular signal is intermittent, your phone's GPS functions independently. However, without map data, it's just a dot on a blank screen. This is where the eSIM comes in. Before you head out from Puerto Natales, use your eSIM data to download detailed offline maps of Torres del Paine on apps like Maps.me, Gaia GPS, or AllTrails. This allows your GPS to pinpoint your location on a detailed topographic map, even when you have no signal. I always download the entire region, not just the W, just in case a detour (planned or unplanned) takes me off the main path.
"I remember trying to navigate a detour on the O Trek after a river crossing was deemed unsafe. My physical SIM had no signal, but my pre-downloaded maps, enabled by a quick eSIM download back at the hotel in Puerto Natales, meant I could confidently find the alternative route. It was a small moment, but it prevented a much larger headache."
Real-Time Weather and Trail Condition Updates
Patagonian weather is famously fickle. A sunny morning can quickly transform into a blizzard, even in January. Having an eSIM allows you to snatch brief moments of connectivity at higher elevations or near refugios to check up-to-the-minute weather forecasts from reliable sources like MeteoChile or the park's official CONAF updates. These updates can be crucial for deciding whether to push on to the next camp or hunker down. I've changed my plans more than once based on a sudden wind warning that I managed to catch via my eSIM data. Knowing a strong storm was predicted to hit the Serón campsite meant I could adjust my pace to get to Dickson earlier.
Emergency Communication: A Lifeline in the Wild
While an eSIM won't provide 100% coverage in every corner of Torres del Paine, it significantly increases your chances of finding a signal in critical situations. If you or someone in your group faces an emergency, being able to send a text message or make a call from a strategic high point can be invaluable. Even a weak signal, enough for a brief WhatsApp message, can make a difference. Park rangers, found at administrative points and some refugios, can be reached directly via their official numbers, which you can save beforehand. This is distinct from a satellite messenger, which operates on an entirely different network, though for truly off-grid treks, comparing eSIM with satellite messengers is a worthwhile exercise.

Post-Trek Connectivity in Puerto Natales and Beyond
After days of relentless trekking, crossing paths with guanacos and condors, returning to Puerto Natales feels like a luxury. And with your eSIM, the transition back to civilisation is seamless, enabling you to coordinate your next steps, share your stories, and indulge in some much-deserved comforts.
Reconnecting in Puerto Natales
Once you're back in Puerto Natales, a charming port town and the gateway to Torres del Paine, your eSIM provides full, reliable connectivity. This means you can easily:
- Book Accommodation: Confirm your hostel or hotel reservation in the main thoroughfare of Baquedano or the quieter streets around the waterfront.
- Arrange Transport: Order a taxi, check bus schedules with Bus-Sur or Buses Pacheco, or confirm your transfer back to Punta Arenas airport.
- Share Your Adventures: Upload photos and videos of the Towers to Instagram, WhatsApp your family, or make video calls from a cozy café on Calle Pedro Montt.
- Find Restaurants: Use Google Maps to locate that highly-rated Patagonian lamb restaurant or a craft brewery near the main plaza.
The convenience of having immediate, fast data without the need to purchase a new SIM or rely on café Wi-Fi is a true blessing after days in the wilderness.
Planning Your Next Adventure
Many W Trek trekkers continue their Patagonian journey, perhaps heading north to El Calafate in Argentina to see Perito Moreno Glacier, or taking a ferry through the fjords. Your eSIM, especially if it's a regional plan, continues to serve you. You can research your next destination, book flights, or check bus routes with platforms like Plataforma 10 without skipping a beat. This flexibility is something a physical SIM card often struggles to provide, especially when crossing international borders.
Choosing the Right eSIM Plan for Your Patagonia Adventure
Selecting the ideal eSIM plan is crucial for a stress-free journey. It's not just about getting the cheapest option, but finding one that matches your specific needs for the W Trek and your wider Patagonian itinerary.
Data Needs for the Trekker
For the W Trek, your data usage will likely be concentrated on specific tasks: downloading offline maps, checking weather, emergency messages, and maybe a quick check-in with family. Heavy streaming or constant social media use won't be feasible, nor advisable, while on the trail. I typically recommend:
- 5GB for 7-10 days: Sufficient for essential navigation, weather updates, and occasional messaging.
- 10GB for 14-20 days: Ideal if you plan to extend your trip beyond the W Trek into other parts of Patagonia or spend more time in Puerto Natales/Punta Arenas.
- Regional Plans: If you're visiting both Chilean and Argentinian Patagonia, a Latin America regional eSIM saves you the hassle of managing multiple country-specific plans. This is a great choice if you're also considering places like Iguazu Falls or Buenos Aires.
Remember, while some apps use data in the background, you can minimise this by turning off automatic updates and background app refresh for most applications while trekking. I always make sure Spotify is set to download playlists when I have Wi-Fi, not stream on data.
eSIM Comparison for Patagonia 2026
Here's a snapshot of common eSIM plan types suitable for Patagonia, along with their typical use cases:
| Plan Type | Data Allowance | Validity | Best For |
|---|---|---|---|
| Local Chile eSIM | 5 GB | 7 Days | W Trek only, minimal post-trek use |
| Local Chile eSIM | 10 GB | 15 Days | W Trek + Puerto Natales/Punta Arenas exploration |
| Latin America Regional eSIM | 15 GB | 30 Days | Chile + Argentina (e.g., El Chaltén, Ushuaia) |
| Global eSIM | 20 GB | 30 Days | Extended multi-country South America trips |
Troubleshooting Common eSIM Issues in Remote Areas
Even with the best preparation, connectivity in a place as remote as Torres del Paine can be temperamental. Knowing a few basic troubleshooting steps can save you a lot of frustration.
No Signal, No Data: What to Check
If your eSIM isn't connecting, here's a quick checklist:
- Restart Your Phone: The oldest trick in the book, but often effective. It can force your phone to reconnect to the strongest available tower.
- Check Data Roaming Settings: Ensure data roaming is enabled for your eSIM line in your phone's settings. Sometimes updates or airplane mode can reset this.
- Toggle Airplane Mode: Turn on airplane mode for 30 seconds, then turn it off. This forces a network search.
- Manual Network Selection: Go to your phone's cellular settings and try manually selecting a network (e.g., Entel or Movistar). Sometimes, auto-selection picks a weaker signal.
- Check APN Settings: While eSIMs usually configure this automatically, occasionally the Access Point Name (APN) settings might be incorrect. Your eSIM provider's support page will have the correct APN.
- Contact Support: If all else fails, and you have Wi-Fi access (perhaps at a refugio or back in Puerto Natales), contact your eSIM provider's customer support. They can often diagnose issues remotely. Many providers offer 24/7 chat support, which is often easier than making international calls (a lesson I learned trying to get support for a physical SIM at 3 AM from a hotel in Mendoza, Argentina). For general questions, you might find answers on the FAQ page as well.
Managing Battery Life with eSIM
Running out of battery is a real concern on the W Trek, especially if your phone is your primary navigation device. While an eSIM itself doesn't significantly drain battery more than a physical SIM, constantly searching for signal does. Here are some tips:
- Airplane Mode: When you know there's no signal (e.g., in the middle of the Valle del Francés), switch to airplane mode to conserve battery. Your GPS will still work.
- Low Power Mode: Enable your phone's low power mode.
- Portable Charger: Carry a high-capacity power bank (20,000 mAh or more). Charge your phone and headlamp every night.
- Offline Maps First: Always rely on your downloaded offline maps and only turn on cellular data when you expect to get a signal or need a specific update.
On my last trek, I carried two 20,000 mAh power banks, ensuring I could keep my phone and headlamp charged for the entire five days, even with occasional data use.
Comparing eSIM vs. Local SIM Cards for Patagonia
While eSIMs offer significant advantages for the W Trek, it's worth understanding the trade-offs compared to traditional physical SIM cards, which some travelers still prefer.
The Local SIM Card Experience in Chile
Purchasing a local SIM card in Chile involves a few steps. You'll need to visit a carrier store (Entel, Movistar, Claro) in a major city like Santiago, Punta Arenas, or Puerto Natales. You'll generally need your passport for registration. Prices for data plans are competitive, with prepaid options readily available. For example, a 10GB plan from Movistar might cost around 10,000-15,000 CLP (10-15 USD) for 30 days. The main downsides include:
- Time and Effort: Finding a store, waiting in line, navigating language barriers.
- Physical Swap: Managing a tiny physical SIM, risking loss or damage.
- Phone Compatibility: Ensuring your phone is unlocked and compatible with Chilean network bands (typically bands 4, 7, 28 for LTE).
I remember spending two hours in a Movistar store in the Providencia district of Santiago, just trying to get a SIM registered. It felt like a wasted morning, a valuable part of my limited travel time, which I would have rather spent exploring the Parque Metropolitano.
eSIM vs. Physical SIM at a Glance
| Feature | eSIM | Physical Local SIM |
|---|---|---|
| Activation | Instant, online, QR code | In-store, passport registration |
| Convenience | Seamless, no physical swap | Requires store visit, handling small card |
| Multi-Country Use | Easy to switch/manage multiple plans | Requires new SIM for each country |
| Coverage in Torres del Paine | Same as local carriers (Entel, Movistar) | Same as local carriers (Entel, Movistar) |
| Cost | Potentially higher for smaller data plans | Generally cheaper for high-data local plans |
For the average trekker focused on the W Trek, the convenience and peace of mind offered by an eSIM far outweigh the slight potential cost difference or marginal data benefits of a physical SIM. The time saved alone, not having to deal with local carrier stores, is worth it.
Final Thoughts on Staying Connected in Torres del Paine
The W Trek is an unforgettable journey through some of the planet's most dramatic landscapes. While the allure of being completely disconnected is strong, the practical realities of safety, navigation, and occasional communication make a reliable data solution essential. For 2026, an eSIM stands out as the most efficient, flexible, and stress-free way to maintain that crucial link.
From downloading essential offline maps before you leave the bustling streets of Santiago, to checking the ever-changing Patagonian weather forecast near the Mirador Las Torres, to simply sending a 'doing great' message from a rare pocket of signal, an eSIM empowers you. It allows you to focus on the crunch of gravel underfoot, the roar of the wind, and the awe-inspiring views, rather than worrying about whether your phone will work. Trek smart, trek safe, and let your eSIM keep your compass true.
Frequently Asked Questions
Does eSIM work in Torres del Paine National Park?
Yes, eSIMs work in Torres del Paine National Park, leveraging the existing network infrastructure of local Chilean carriers like Entel and Movistar. However, coverage is intermittent and generally limited to park entrances, administration areas, and some larger refugios, not along the entire trail. It's essential for downloading offline maps and occasional communication.
What kind of coverage can I expect with an eSIM on the W Trek?
On the W Trek, you can expect sporadic 3G/4G coverage in certain areas, particularly around Refugio Central, Paine Grande, and the Laguna Amarga entrance. Deeper into valleys like Valle del Francés or along the Lago Grey section, signal will be very weak or non-existent. An eSIM will use the same towers as a local SIM, so its coverage mirrors that of major Chilean networks.
Is Wi-Fi available in the refugios along the W Trek?
Some refugios, such as Paine Grande, Central, and Chileno, offer satellite-based Wi-Fi. This Wi-Fi is typically slow, expensive (around 5,000-10,000 CLP for limited data/time), and unreliable, especially during peak trekking season. It's best used for quick messages or essential updates, not for heavy browsing or streaming.
Can I use my eSIM for navigation without cellular signal in Patagonia?
Yes, your phone's GPS functions independently of cellular signal. By downloading offline maps of Torres del Paine (using apps like Maps.me or Gaia GPS) onto your device *before* you lose signal, your eSIM allows you to navigate effectively even in areas with no connectivity. Your location will still be pinpointed on the downloaded map.
How much data do I need for the W Trek with an eSIM?
For a typical 5-7 day W Trek, a 5-10GB eSIM plan should be sufficient. This allows for downloading offline maps, checking essential weather updates, occasional messaging, and some post-trek usage in Puerto Natales. Heavy data usage like video streaming is generally not possible or recommended on the trail.
Should I get a local physical SIM or an eSIM for Patagonia?
For most trekkers, an eSIM offers greater convenience, allowing you to activate remotely and avoid the hassle of finding a local store, waiting in line, and dealing with physical SIM swaps upon arrival in Chile. While local physical SIMs might be slightly cheaper for very high data plans, the time and stress saved with an eSIM usually make it the preferred choice for a Patagonian adventure.