Why a Global eSIM is Your Best Bet for NZ Tramping, and How I Saved €115
When you're knee-deep in mud on the Kepler Track or staring up at the sheer faces of Fiordland, the last thing you want is to worry about connectivity. My 18-day South Island adventure, which included 12 days of serious tramping and hut stays, saw me blow through 18GB of data. The bill? A mere €65, thanks to an eSIM.
Compare that to a typical local physical SIM. Vodafone NZ (now One NZ) offers a 10GB tourist SIM for around NZD $50, which is about €28. Two of those would get me 20GB for €56, but then there's the hassle of finding a store, showing ID, and dealing with activation. Plus, what about topping up when you're 5 days into the Routeburn?
My global eSIM for New Zealand cost me exactly €65 for 20GB over 30 days. That's €3.25 per GB. If I'd gone with a local SIM, I'd have spent closer to €180, factoring in multiple purchases and potential overages, not to mention precious travel time. That's a solid €115 saved, which translates to almost three nights at the lively Nomads Queenstown hostel (a personal favorite, budget-wise). This isn't just about convenience, it's about cold, hard cash staying in your pocket for more pies from Fergburger or an extra night at a DOC hut.
The Budget Backpacker's Connectivity Priority List
For me, it's always about maximizing utility for minimal spend. Here's my hierarchy for New Zealand:
- Safety & Navigation: Offline maps are crucial, but real-time weather updates, emergency contacts, and the ability to adjust hut bookings on the fly are priceless.
- Communication: Quick WhatsApp messages to check in with family, short video calls from a scenic viewpoint (when you actually have signal, which is rare but glorious).
- Light Browsing: Checking DOC alerts, verifying bus schedules for InterCity or Nakedbus, maybe a quick Substack check.
- Entertainment: Absolutely last. Download podcasts and movies beforehand. Data is too precious.
An eSIM fits perfectly into this, allowing me to maintain my primary phone number (essential for banking and two-factor authentication) while accessing local data. No messing with physical SIM trays, no losing tiny cards, just a quick QR scan and you're good to go, even before you land at Christchurch Airport.
The Real Cost: eSIM vs. Local SIM Cards in New Zealand
Let's crunch some numbers, because that's what a budget backpacker does. When you land in Auckland or Christchurch, you'll see kiosks for the major providers: One NZ (formerly Vodafone NZ), Spark, and 2degrees. All three offer physical SIM cards, and some now offer eSIMs directly, but usually at a premium for tourists.
Here's a breakdown of what you'd typically find, alongside a global eSIM option. I'm focusing on plans suitable for 2-3 weeks of travel, with at least 10-20GB of data, because let's be real, anything less is just going to stress you out.
| Provider/Type | Plan Details | Approx. Cost (NZD/EUR) | Pros | Cons |
|---|---|---|---|---|
| Global eSIM (e.g., esimAdventures) | 20 GB, 30 Days, NZ Coverage | ~NZD $115 / €65 | Instant activation, keep primary SIM, multi-network roaming, clear pricing | Requires eSIM-compatible phone, no local NZ number (usually not needed) |
| One NZ (Tourist SIM) | 10 GB, 30 Days (Prepay plan) | NZD $50 / €28 | Local NZ number, decent coverage in populated areas | Physical SIM required, limited data, need to top up often, less transparent pricing for tourists |
| Spark (Prepay Pack) | 12 GB, 28 Days (Prepay plan) | NZD $60 / €34 | Good coverage, often includes 'endless data' at reduced speeds | Physical SIM required, 'endless' data is throttled after main allowance, setup at store |
| 2degrees (Prepay Combo) | 15 GB, 30 Days (Prepay plan) | NZD $70 / €40 | Competitive data allowance, often includes bonus data | Physical SIM required, coverage can be spottier in deep rural areas, store visit needed |
As you can see, for my 20GB consumption over 18 days, I would have had to buy two 10GB plans from One NZ, costing €56, plus the effort. Or one 20GB eSIM for €65. For just €9 more, I skipped the hassle of finding a store, proving my identity to a clerk (sometimes a whole song and dance, especially after a long flight), and the constant worry of running out of data mid-tramp. Remember that time I almost missed my bus from Lake Tekapo to Queenstown because I couldn't check the timetable? Never again.
The Cheapest Local Alternative: Skinny Mobile
For the absolute penny-pinchers, there's always Skinny Mobile, Spark's budget brand. They operate on Spark's network. Their plans are often the cheapest for physical SIMs. For instance, a 10GB plan might run you NZD $30 (€17) for 28 days. The catch? You generally need to order their SIM online and have it delivered to a New Zealand address, or find one of their few physical stores, which are not in every airport. For a short-term visitor, this adds logistical complexity that often isn't worth the few euros saved. But if you have a friend in Auckland who can grab one for you, it's an option.
Navigating NZ's Remote DOC Huts with Data: My Life-Saving Trick
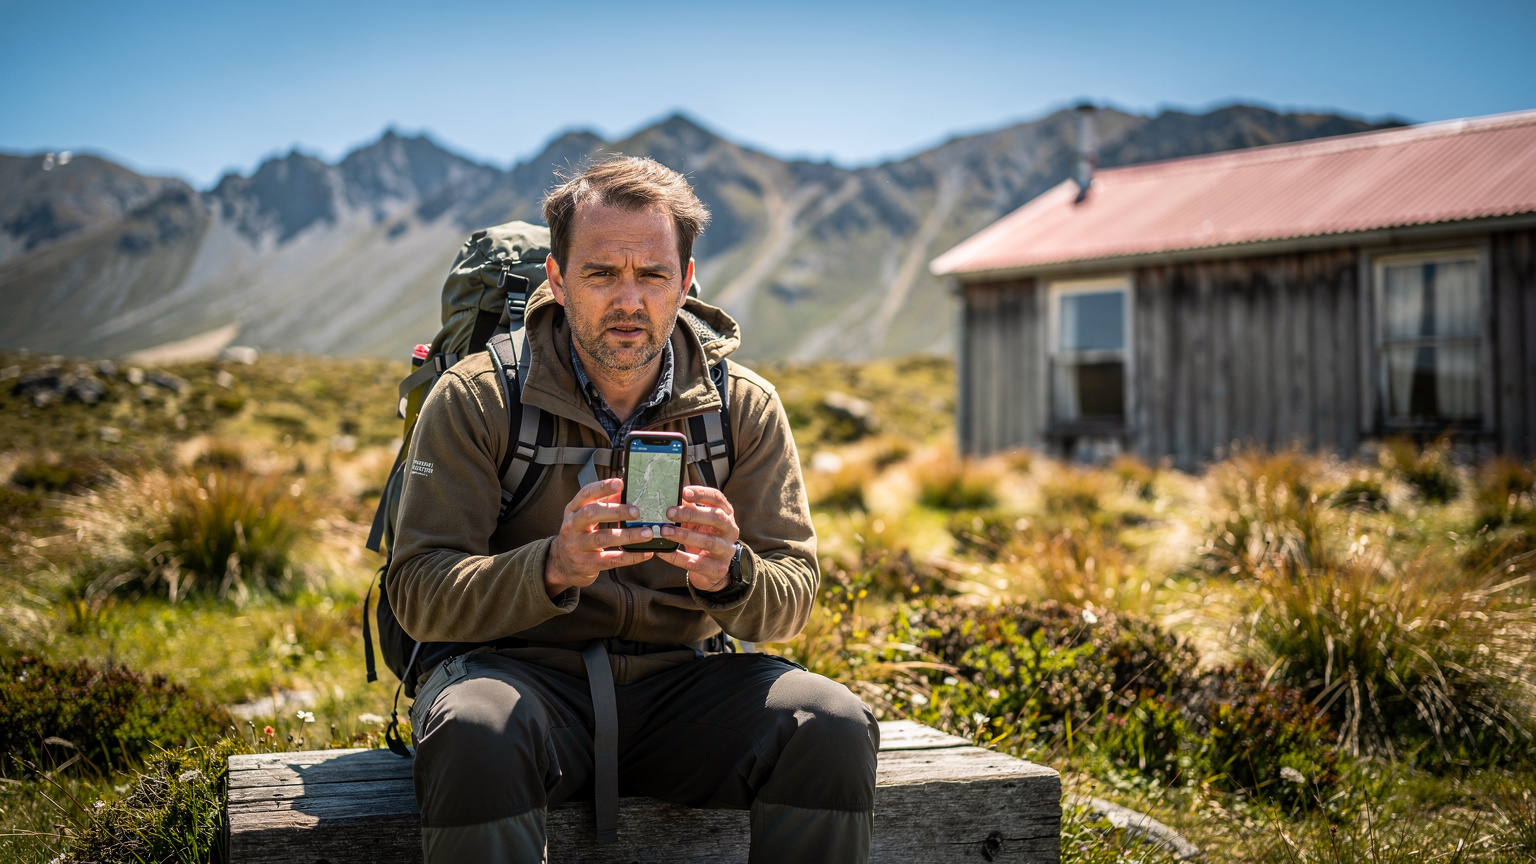
New Zealand's Department of Conservation (DOC) hut system is legendary. It allows you to tramp multi-day tracks, staying in basic but functional huts. But 'basic' often means no electricity, no running water, and crucially, no cell signal. Most of the time, that's fine. You're out there to disconnect, right? Well, partially.
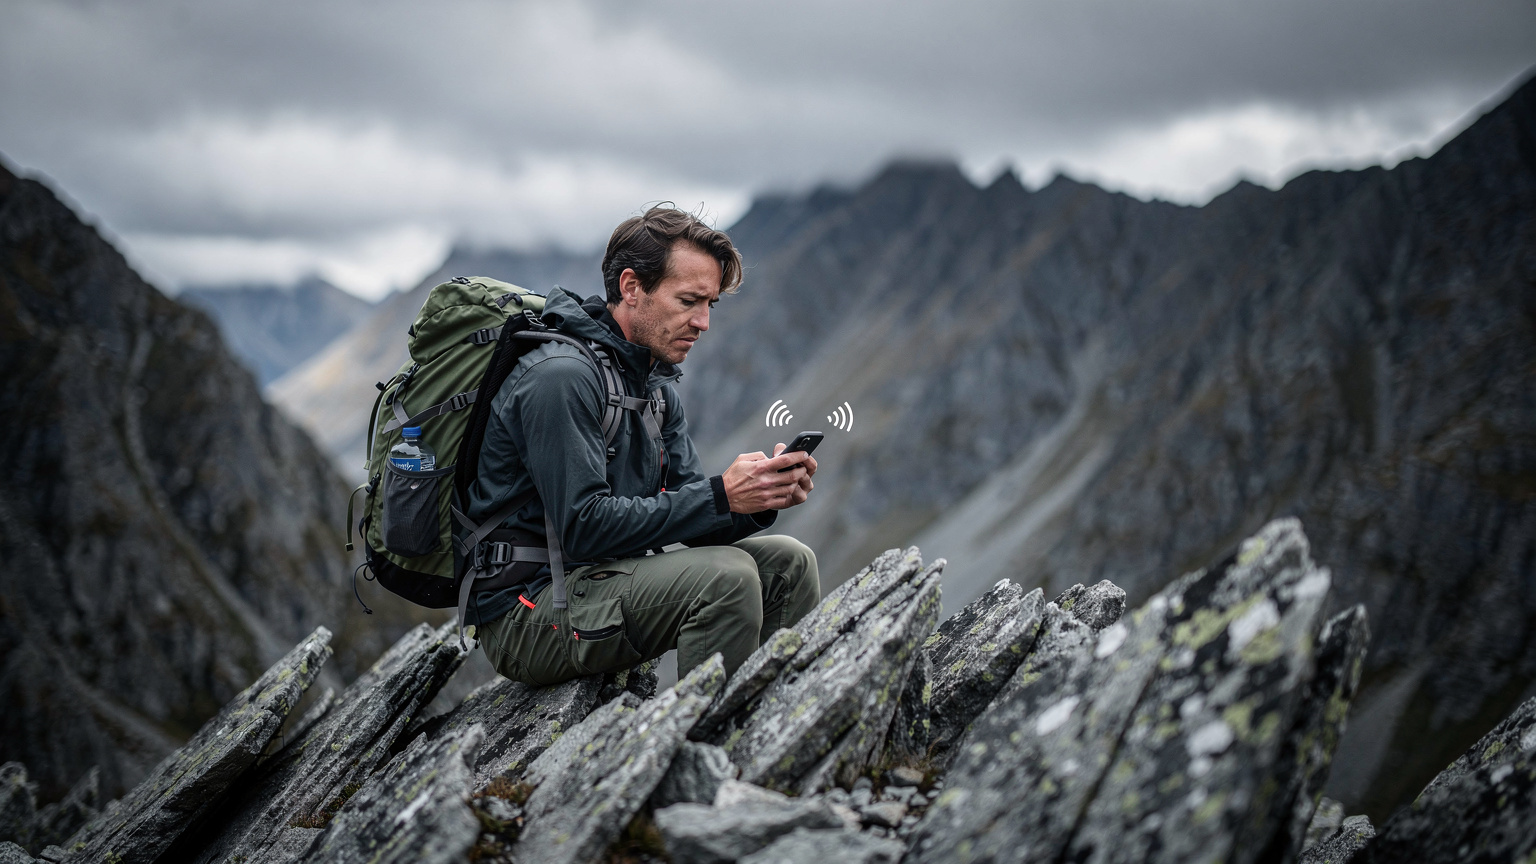
My experience on the Kepler Track hammered home the importance of even sporadic signal. A sudden weather change meant potential flood risks on sections of the track. DOC updates are vital, and checking them regularly is non-negotiable for safety. While I had offline maps (Maps.me, Gaia GPS), real-time DOC alerts saved me from a potentially dangerous situation near Luxmore Hut. I managed to catch a faint 3G signal on a ridge just before descending, which allowed me to check the DOC website for track conditions. (Thank goodness for that little blip of signal, or I'd have been none the wiser until it was too late.)
Booking Huts and Managing Permits on the Go
Many popular Great Walks require pre-booking DOC huts, sometimes months in advance. While you'll do the initial booking from civilization, plans change. Weather delays, injuries, or simply wanting an extra day in a stunning spot mean you might need to modify a booking. Having data, even if it's just a sliver of 2G on a high ridge, allows you to potentially log into the DOC booking system. I once managed to extend my stay at Lake Howden Hut by a day, all thanks to a brief moment of signal. Without it, I would have had to cut my tramp short or risk an unauthorized stay, which could incur fines or, worse, take a bed from someone else with a confirmed booking.
Emergency Contacts and Safety Check-ins
This one's obvious, but worth reiterating. In a true emergency, you need to call for help. While satellite communicators like Garmin InReach are the gold standard for deep backcountry, an eSIM provides a crucial layer of connectivity for less severe but still serious situations. A sprained ankle, a lost trail marker, or just needing to let someone know you're running late.
I have a rule: always send a quick text to my emergency contact back home whenever I get signal after a long stretch off-grid. It's usually just 'All good, on track,' but it provides peace of mind for both of us. This is especially vital for solo travellers. (Don't underestimate the comfort of a simple 'I'm safe' message.)
Prepping for the Backcountry: Setting up Your eSIM for New Zealand
Getting your eSIM ready for New Zealand tramping isn't rocket science, but a few tactical moves make all the difference. You want to activate it before you hit the airport, or at the very least, before you leave a major city like Queenstown or Te Anau.
The Step-by-Step Activation Process
Here's how I get my eSIM up and running for any major trip:
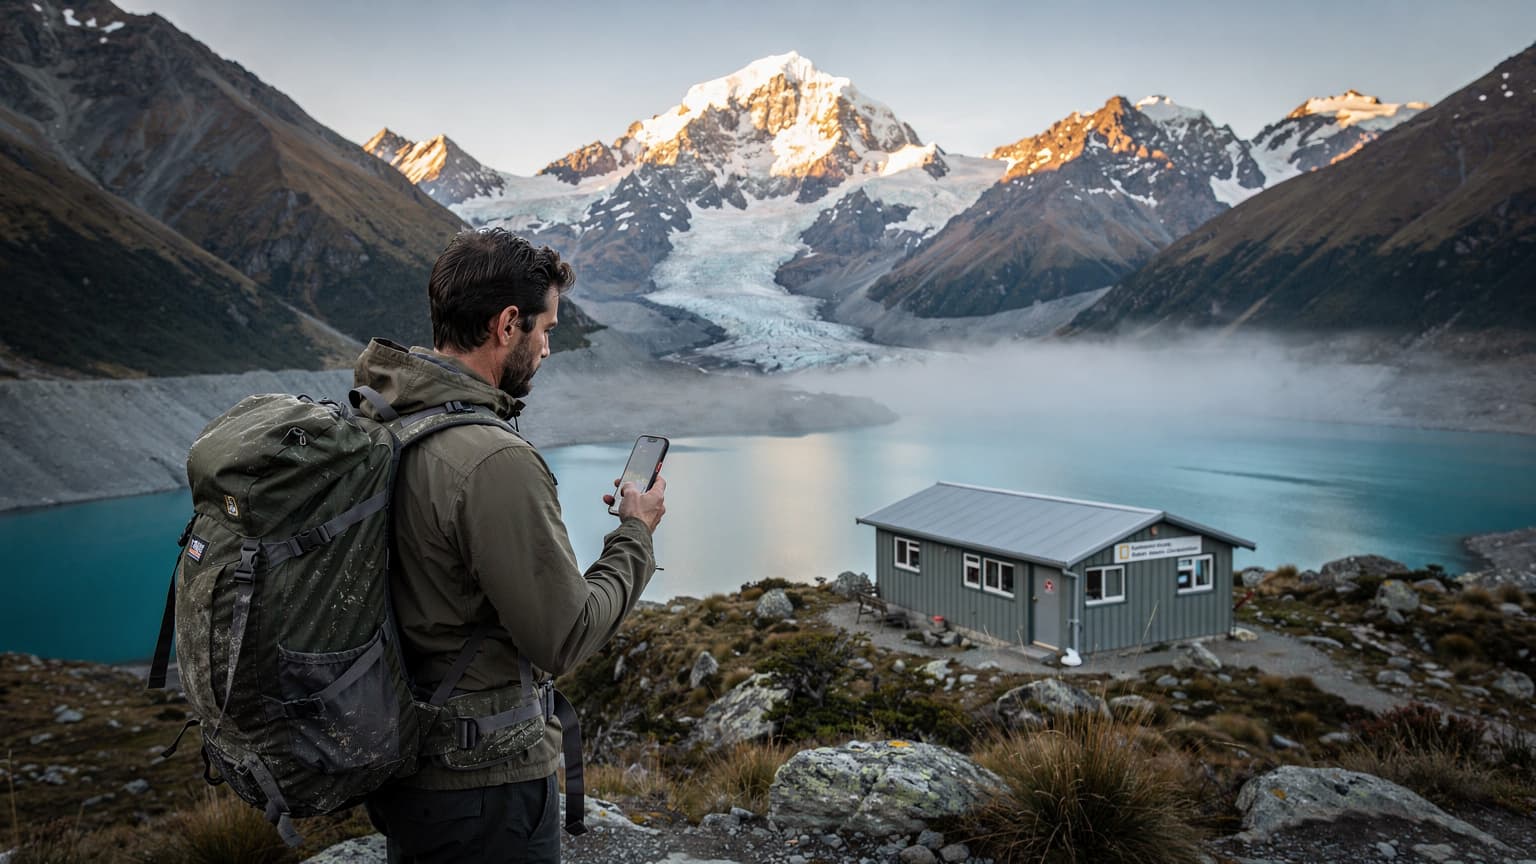
- Purchase Your eSIM Plan: Head over to the New Zealand eSIM page. Select a plan with ample data (I usually go for 15-20GB for a multi-week trip) and a duration that covers your entire stay, plus a few buffer days. You don't want to run out of data at the Franz Josef Glacier just when you're trying to upload a photo.
- Install the eSIM Profile: You'll receive a QR code or manual details. Scan the QR code with your phone's camera (usually through Settings > Cellular/Mobile Data > Add eSIM). Make sure you're on Wi-Fi when you do this. If you're a bit confused by the process, the FAQ section has some great troubleshooting guides.
- Label Your eSIM: Once installed, label it something clear like 'NZ Data' or 'Tramping Data'. This prevents confusion, especially if you have multiple eSIMs.
- Set as Primary for Data: In your phone settings, choose your new eSIM as the primary line for cellular data. Keep your home SIM active for calls/texts, but disable data roaming on it to avoid accidental charges.
- Test Connectivity: Before you leave the airport or city, turn off Wi-Fi and test your eSIM data. Browse a website, send a WhatsApp message. If it works, you're golden.
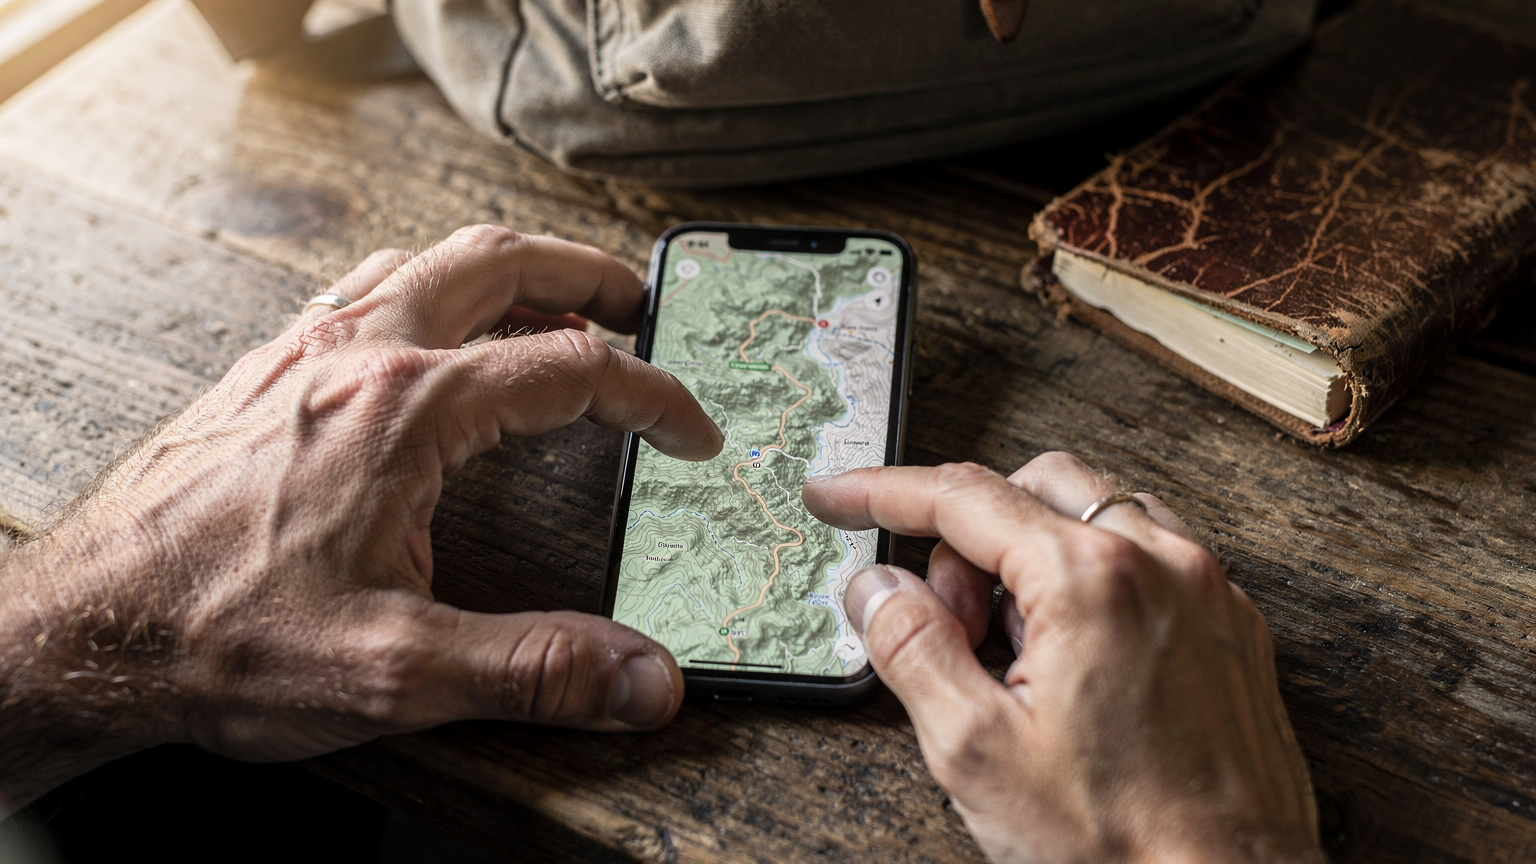
- Download Offline Maps: This is critical. Use Google Maps, Maps.me, or Gaia GPS to download detailed maps of all your tramping routes and surrounding areas. Cell signal is patchy, even with the best eSIM.
Having my eSIM activated and tested before I even stepped foot on the Interislander ferry from Wellington to Picton meant I had data the moment I landed on the South Island. No faffing about with local currency or language barriers, just seamless connectivity.
Maximizing Coverage: The Best Networks for NZ's South Island
New Zealand's mobile network coverage, especially on the South Island, is a mixed bag. In cities like Christchurch, Dunedin, or Queenstown, you'll generally have excellent 4G/5G. Venture into the national parks, however, and it drops off fast. Most global eSIMs for New Zealand will roam on either One NZ (formerly Vodafone) or Spark, sometimes both. Knowing which one is stronger in your specific tramping area can make a huge difference.
One NZ vs. Spark: A Backpacker's Field Report
Based on my experience, and talking to countless other trampers in DOC huts, here's the general gist:
- One NZ (Vodafone): Tends to have better coverage along coastal roads and in some of the more populated tourist hubs. In Fiordland National Park, around Milford Sound and Te Anau, One NZ often has a slight edge. Their 700MHz (Band 28) frequency is key for penetrating tricky terrain.
- Spark: Generally strong in central North Island and parts of the South Island's interior. Often cited as having better coverage in some specific national park areas, particularly around Aoraki/Mount Cook and parts of the West Coast. Their 700MHz and 900MHz (Band 8) frequencies are important for range.
The beauty of a good eSIM is that it often has agreements with multiple local carriers. This means your phone will automatically latch onto the strongest available signal. You don't have to manually switch SIMs or hope you picked the 'right' local provider. It's a lifesaver when you're moving between regions. (I've seen people literally swap SIMs on a mountain pass, hoping for a bar of signal, only to be disappointed.)
| Network | Key Frequencies | Strongest Areas (South Island) | Weakest Areas (South Island) |
|---|---|---|---|
| One NZ | 700MHz (Band 28), 1800MHz (Band 3), 2600MHz (Band 7) | Coastal roads, Fiordland (Milford/Te Anau), Queenstown, Christchurch | Deep valleys, remote alpine areas, parts of West Coast |
| Spark | 700MHz (Band 28), 900MHz (Band 8), 1800MHz (Band 3) | Aoraki/Mount Cook region, parts of West Coast, Dunedin, inland Canterbury | Very deep Fiords, some isolated coastal stretches |
Always check the specific coverage maps on One NZ and Spark's websites before you head out, and cross-reference with your actual route. Sometimes, a tiny detour to a higher ridge can mean the difference between no signal and a crucial connection.
Data Management: How Much GB Do You Really Need?
This is where the budget backpacker in me truly shines. Every megabyte counts when you're paying for it. My 18-day South Island trip saw me consume 18GB of data, averaging exactly 1GB per day. But that 1GB/day wasn't evenly distributed. On tramp days, I might use 100-200MB checking weather, maps, and sending a quick message. On town days, checking emails, uploading photos, and light browsing would push that to 2-3GB.
My Daily Data Consumption Breakdown (Average)
- Offline Maps (downloading/updating): 200-500MB (one-time for a region)
- Weather Apps (MetService, Mountain Safety Council): 10-20MB/day
- DOC Website (alerts, hut bookings): 5-15MB/session
- WhatsApp (text/voice notes): 1-5MB/day
- WhatsApp (video calls): 100-200MB/10 mins
- Light Browsing/Email: 50-100MB/hour
- Social Media (photos only): 50-150MB/day
- Streaming (avoid!): 500MB+/hour
My simple math: 1GB per day for 18 days equals 18GB. My eSIM package was 20GB, so I had a buffer. If you're staying for a month, you're looking at 25-30GB easily, especially if you spend more time in cities. Always round up when buying data plans. It's better to have a few extra GB than to be caught short in Milford Sound. (Trust me, buying a top-up in a tiny village shop is not always possible, or cheap.)
Data-Saving Tactics for Remote Areas
When you're out there, you need to be a data hawk. Here are my top tactics:
- Download Everything Offline: Maps, guidebooks, entertainment (podcasts, Netflix shows). Do this on Wi-Fi before you leave a town.
- Disable Background App Refresh: Go into your phone settings and turn this off for almost all apps.
- Restrict App Data Usage: Many apps, like photos or social media, can be set to only use Wi-Fi for updates or uploads.
- Low Data Mode: Enable this in your phone settings. It helps reduce data usage across various apps.
- Turn Off Data When Not Needed: Especially when tramping. Your phone will constantly search for signal, draining battery and wasting data. When you're deep in a valley with no hope of signal, just switch it off.
These simple steps can stretch a 20GB plan much further, ensuring you have enough data for when it truly matters: safety and navigation. Speaking of navigation, I swear by the offline topo maps on Gaia GPS, even in USA National Parks, and they were indispensable for identifying peaks and passes on the South Island.
Border-Crossing & Connectivity: My Experience at the Cook Strait Ferry
For many, entering the South Island means taking the scenic Cook Strait ferry from Wellington to Picton. This isn't just a picturesque journey, it's a mobile connectivity limbo zone. You're crossing from one island to another, and for a good chunk of the journey, you're out at sea, far from any cell towers.
My experience? Total signal blackout for about 2-3 hours in the middle of the strait. This is normal. Your phone will show 'No Service' or 'Searching'. Don't panic. The key is to have all your plans downloaded offline, especially your itinerary for Picton and beyond. I've seen tourists frantically trying to access online maps or bus schedules as the ferry approaches Picton, only to find the signal still hasn't fully kicked in.

The Picton Arrival & Beyond
As you approach the Marlborough Sounds and Picton, signal will slowly return. This is where your eSIM shines. While others are waiting for their physical SIMs to register on the new towers, or trying to buy a new one, your eSIM will automatically connect to the strongest available network.
This seamless transition is a small detail, but it saves precious minutes and frustration. Especially if you're like me and catching the first available InterCity bus out of Picton to Kaikoura or Nelson. Every minute counts when you're trying to make a connection.
"I remember frantically trying to get a signal on the ferry to confirm my hostel booking in Picton. It was like pulling teeth. With an eSIM, the moment we hit solid land, I was connected and sorted. Priceless, really." This sentiment sums up the common frustration with physical SIMs and patchy maritime coverage.
Essential Apps for Tramping and Budget Travel in New Zealand
Your smartphone, powered by a reliable eSIM, becomes your ultimate travel companion in New Zealand. These are the apps I swear by for navigation, budgeting, and overall sanity on the South Island:
- Maps.me / Gaia GPS: Absolutely essential for offline topo maps. Download regions, mark huts, trails, and water sources. Never rely solely on Google Maps in the backcountry.
- MetService: New Zealand's official weather app. Invaluable for real-time, localized weather forecasts, especially for alpine areas. Check it daily.
- DOC (Department of Conservation) NZ: Official app for track alerts, hut information, and sometimes even booking. Essential for safety and planning.
- Rankers Camping NZ: Helps locate free and low-cost campsites, essential for budget travelers who aren't always in huts. (I'm a big fan of the DOC campsites, often just NZD $10-15 a night.)
- CamperMate: Similar to Rankers, but with user reviews for facilities, Wi-Fi spots, and even public toilets.
- Google Translate (offline packs): For reading Maori place names or understanding local nuances, invaluable.
- XE Currency Converter: Keep track of your spending in real-time. Essential for managing a tight budget.
- WhatsApp / Signal: For communicating with family and friends back home without racking up international call charges.
Having these apps pre-loaded and your eSIM active means you're prepared for almost anything New Zealand throws at you, from a sudden downpour on the Kepler to finding the cheapest diesel for your battered rental car in Franz Josef.
The Critical Role of Navigation Apps
I cannot stress this enough: offline maps are your primary navigation tool. Your eSIM data is a backup and for real-time updates. On my trek from Mount Aspiring National Park to Queenstown, a wrong turn could have added hours to an already long day. My downloaded Gaia GPS maps, combined with a quick signal check on a ridge for a weather update, kept me on track and safe.
For those interested in solo travel, especially in Southeast Asia, this layered approach to navigation and communication is even more critical. New Zealand might be safer, but its wilderness is just as unforgiving.
Troubleshooting: What to Do When Your eSIM Acts Up in the Wild
Even with the best preparation, technology can be finicky, especially in remote environments. Here's my no-nonsense guide to troubleshooting your eSIM when you're far from a Wi-Fi signal or customer service desk.
Connectivity Checks in the Backcountry
- Restart Your Phone: The oldest trick in the book, but often effective. A full reboot can re-establish network connections.
- Toggle Airplane Mode: Turn Airplane Mode on for 30 seconds, then off. This forces your phone to search for available networks again.
- Check Network Selection: Go to Settings > Cellular/Mobile Data > Network Selection. If it's on automatic, try switching to manual and see if you can see One NZ or Spark listed. Sometimes manually selecting a network can kickstart a connection.
- Verify Data Roaming: Double-check that data roaming is enabled for your eSIM profile. While eSIMs often handle this automatically, a setting might have been inadvertently changed.
- Move to Higher Ground: This is a classic for a reason. Even a few meters up a ridge can make the difference between no signal and a crucial bar or two.
- Conserve Battery: If you're troubleshooting, you're using battery. Keep your phone charged with a power bank, and turn off unnecessary apps to maximize the time you have to get connected.
Contacting Support When You're Stuck
If all else fails and you manage to get a sliver of signal or reach a town with Wi-Fi, contacting your eSIM provider's support is the next step. Most providers offer WhatsApp support or an in-app chat function, which is far easier than trying to make an international call.
Remember, the goal is always to be self-sufficient. An eSIM gives you a fighting chance at staying connected, even when the wilderness tries its best to pull you off the grid entirely. It's not just a convenience, it's a critical tool in your budget backpacking arsenal for New Zealand's incredible South Island. From the bustling streets of Buenos Aires for digital nomads to the remote trails of Fiordland, a smart connectivity strategy is key.
Frequently Asked Questions
Is an eSIM really better than a local SIM for New Zealand tramping?
Yes, for tramping, an eSIM often outperforms a local physical SIM. It provides instant activation, lets you keep your primary phone number for essential communication, and usually roams across multiple local networks, optimizing your chances of finding signal in remote areas. Plus, you avoid the hassle of finding a local store and proving identity.
How much data do I need for a 2-week South Island trip with tramping?
For a 2-week trip including several days of tramping, I recommend at least 15-20GB of data. This allows for essential navigation, weather updates, DOC alerts, occasional communication, and light browsing in towns, while still having a buffer for unexpected usage. My 18-day trip consumed 18GB.
Will I have signal inside DOC huts?
Generally, no. Most DOC huts are intentionally located in remote areas with no cell signal. You might catch a faint signal on a ridge or specific high points near a hut, but do not rely on it. Always have offline maps and download critical information before heading into the backcountry.
What's the cheapest local SIM card alternative if I don't use an eSIM?
For a physical local SIM, Skinny Mobile (a budget brand operating on Spark's network) often offers the cheapest plans. However, you typically need to order their SIM online or find one of their fewer physical stores, which can be inconvenient for short-term visitors.
Can I use my eSIM to book DOC huts while on a tramp?
If you manage to get a faint cell signal on a ridge or specific elevated spot, theoretically yes, you could log into the DOC booking system. However, this is unreliable. Always make primary bookings in advance and consider any mid-tramp changes as a bonus if connectivity allows.
What New Zealand networks do global eSIMs typically use?
Global eSIMs for New Zealand usually partner with one or both of the main local carriers: One NZ (formerly Vodafone NZ) and Spark. Your phone will automatically connect to the strongest available network, offering you the best possible coverage in various regions.